

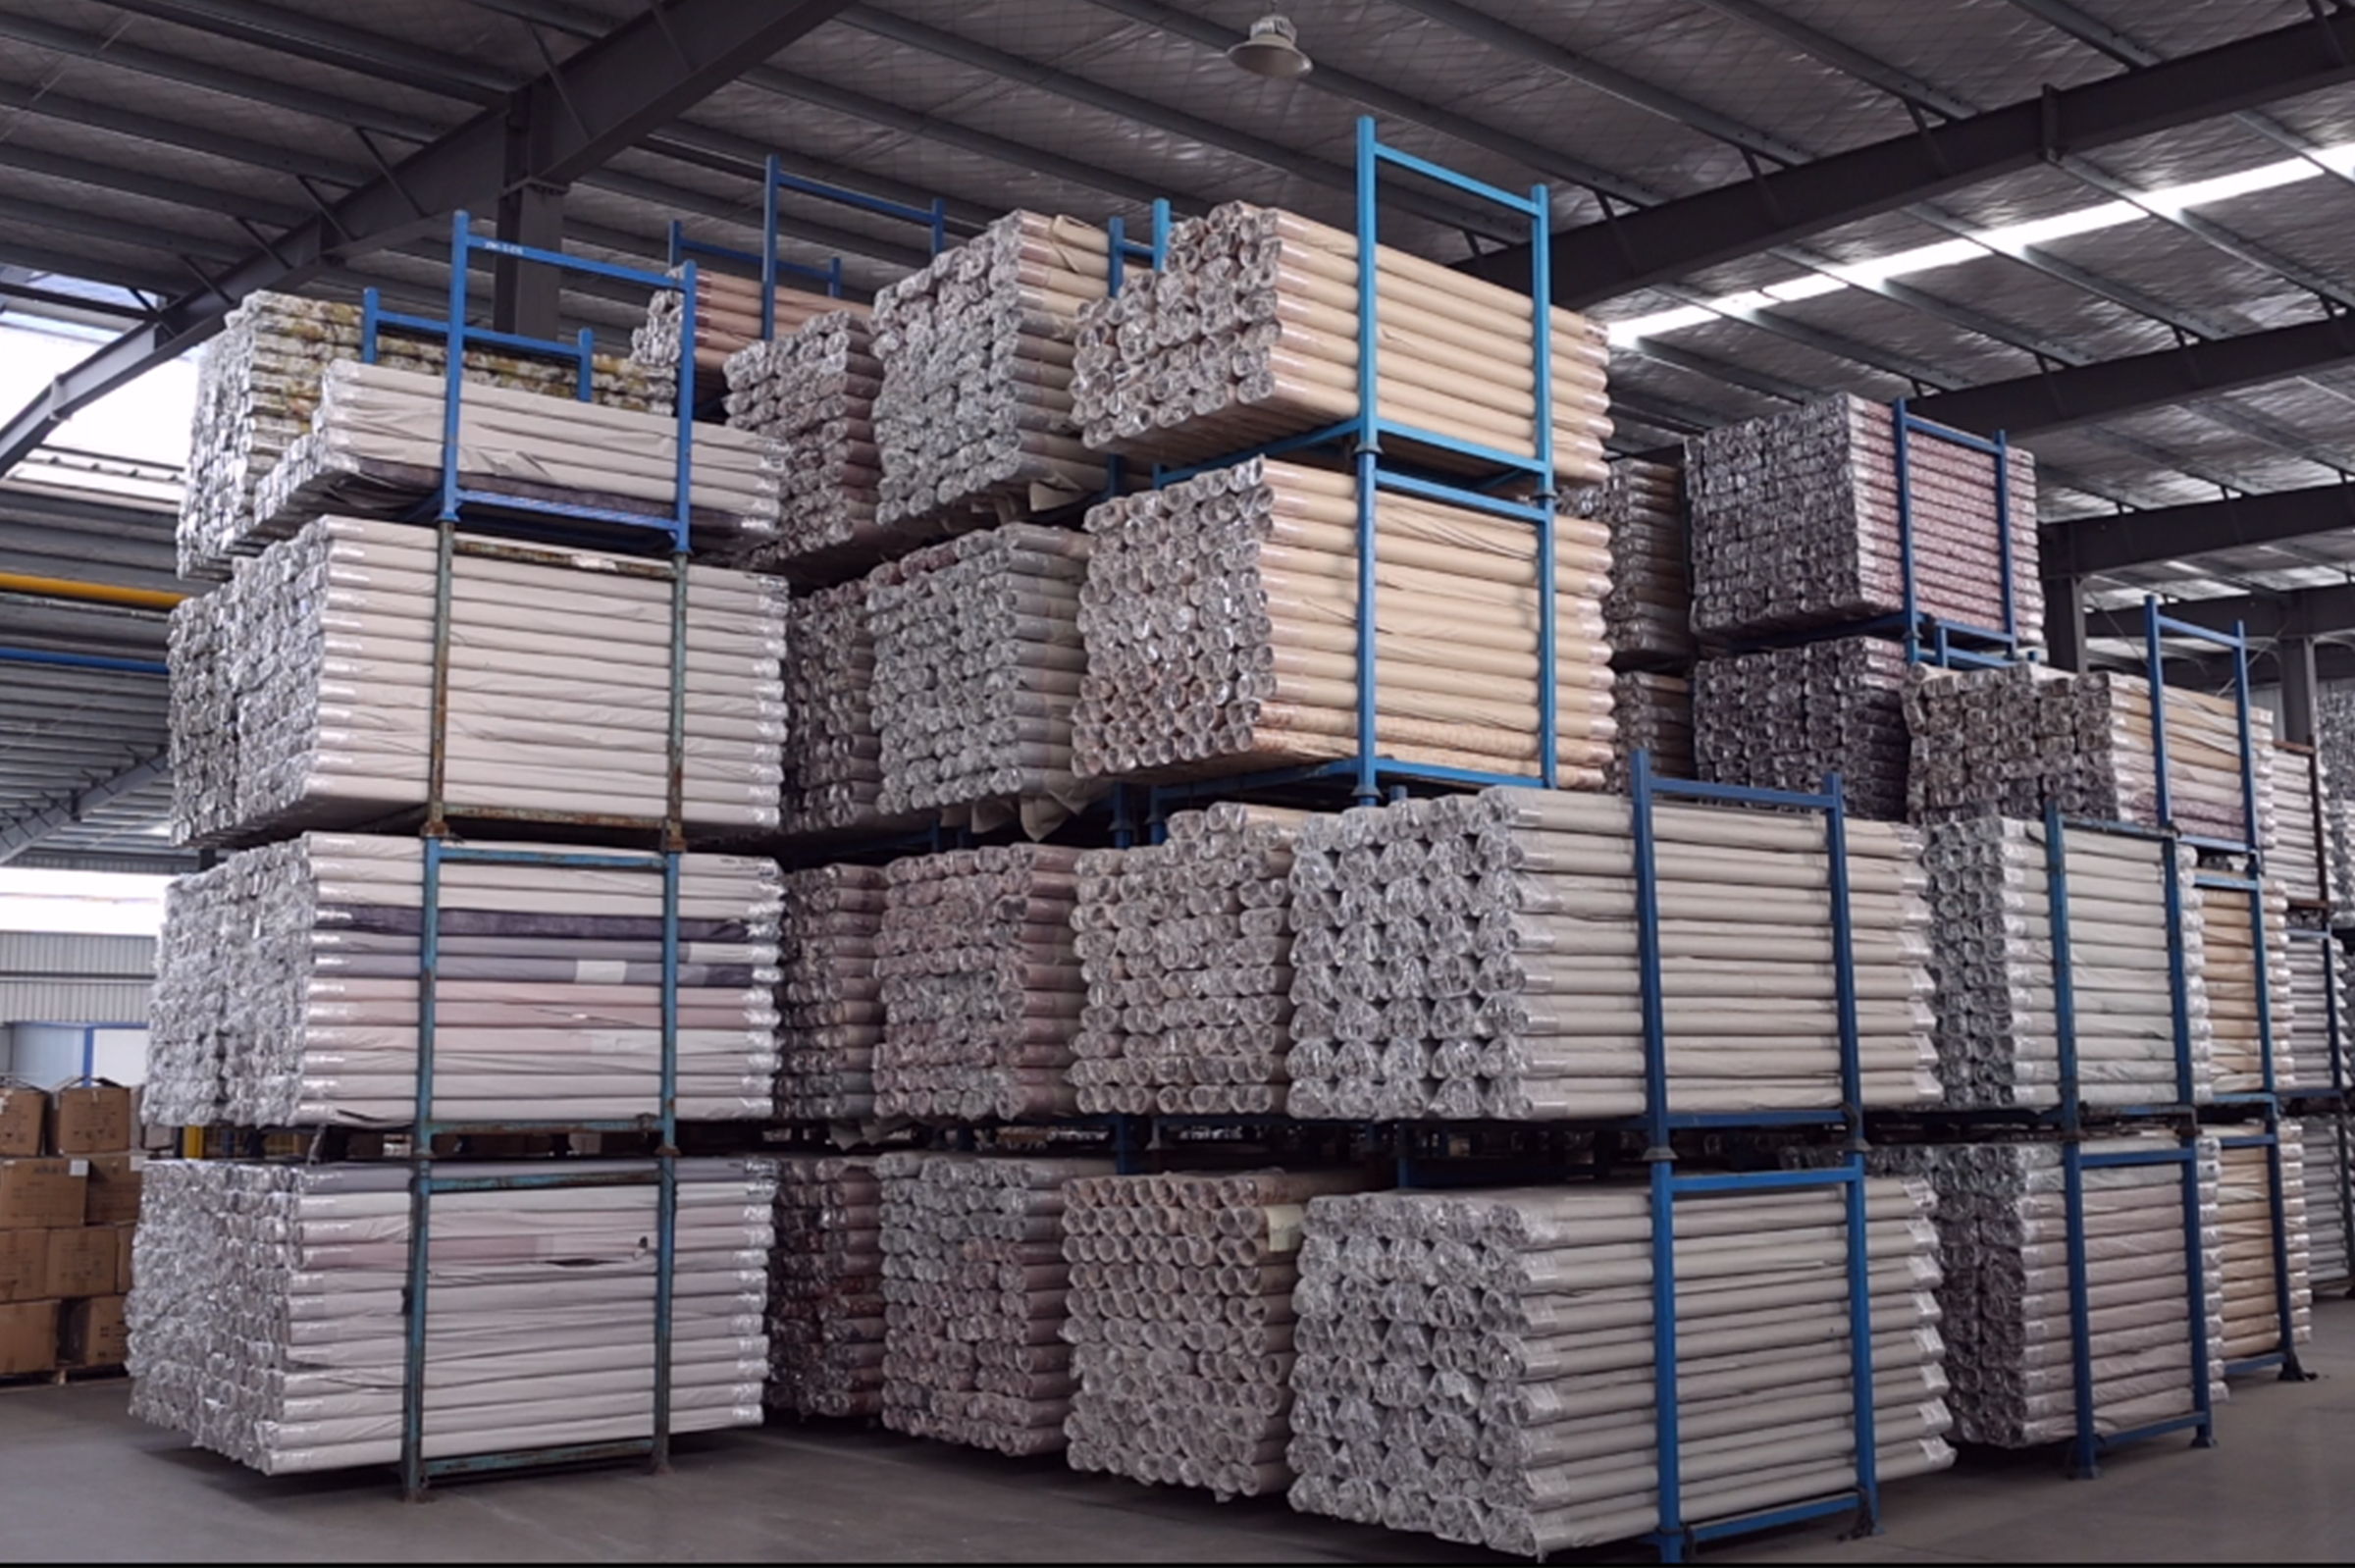
Step#1 Glass tubes
Glass tubes manufactured from own borosilciate glass factory, therefore, our tube blown glass products have significant cost advantages.
1
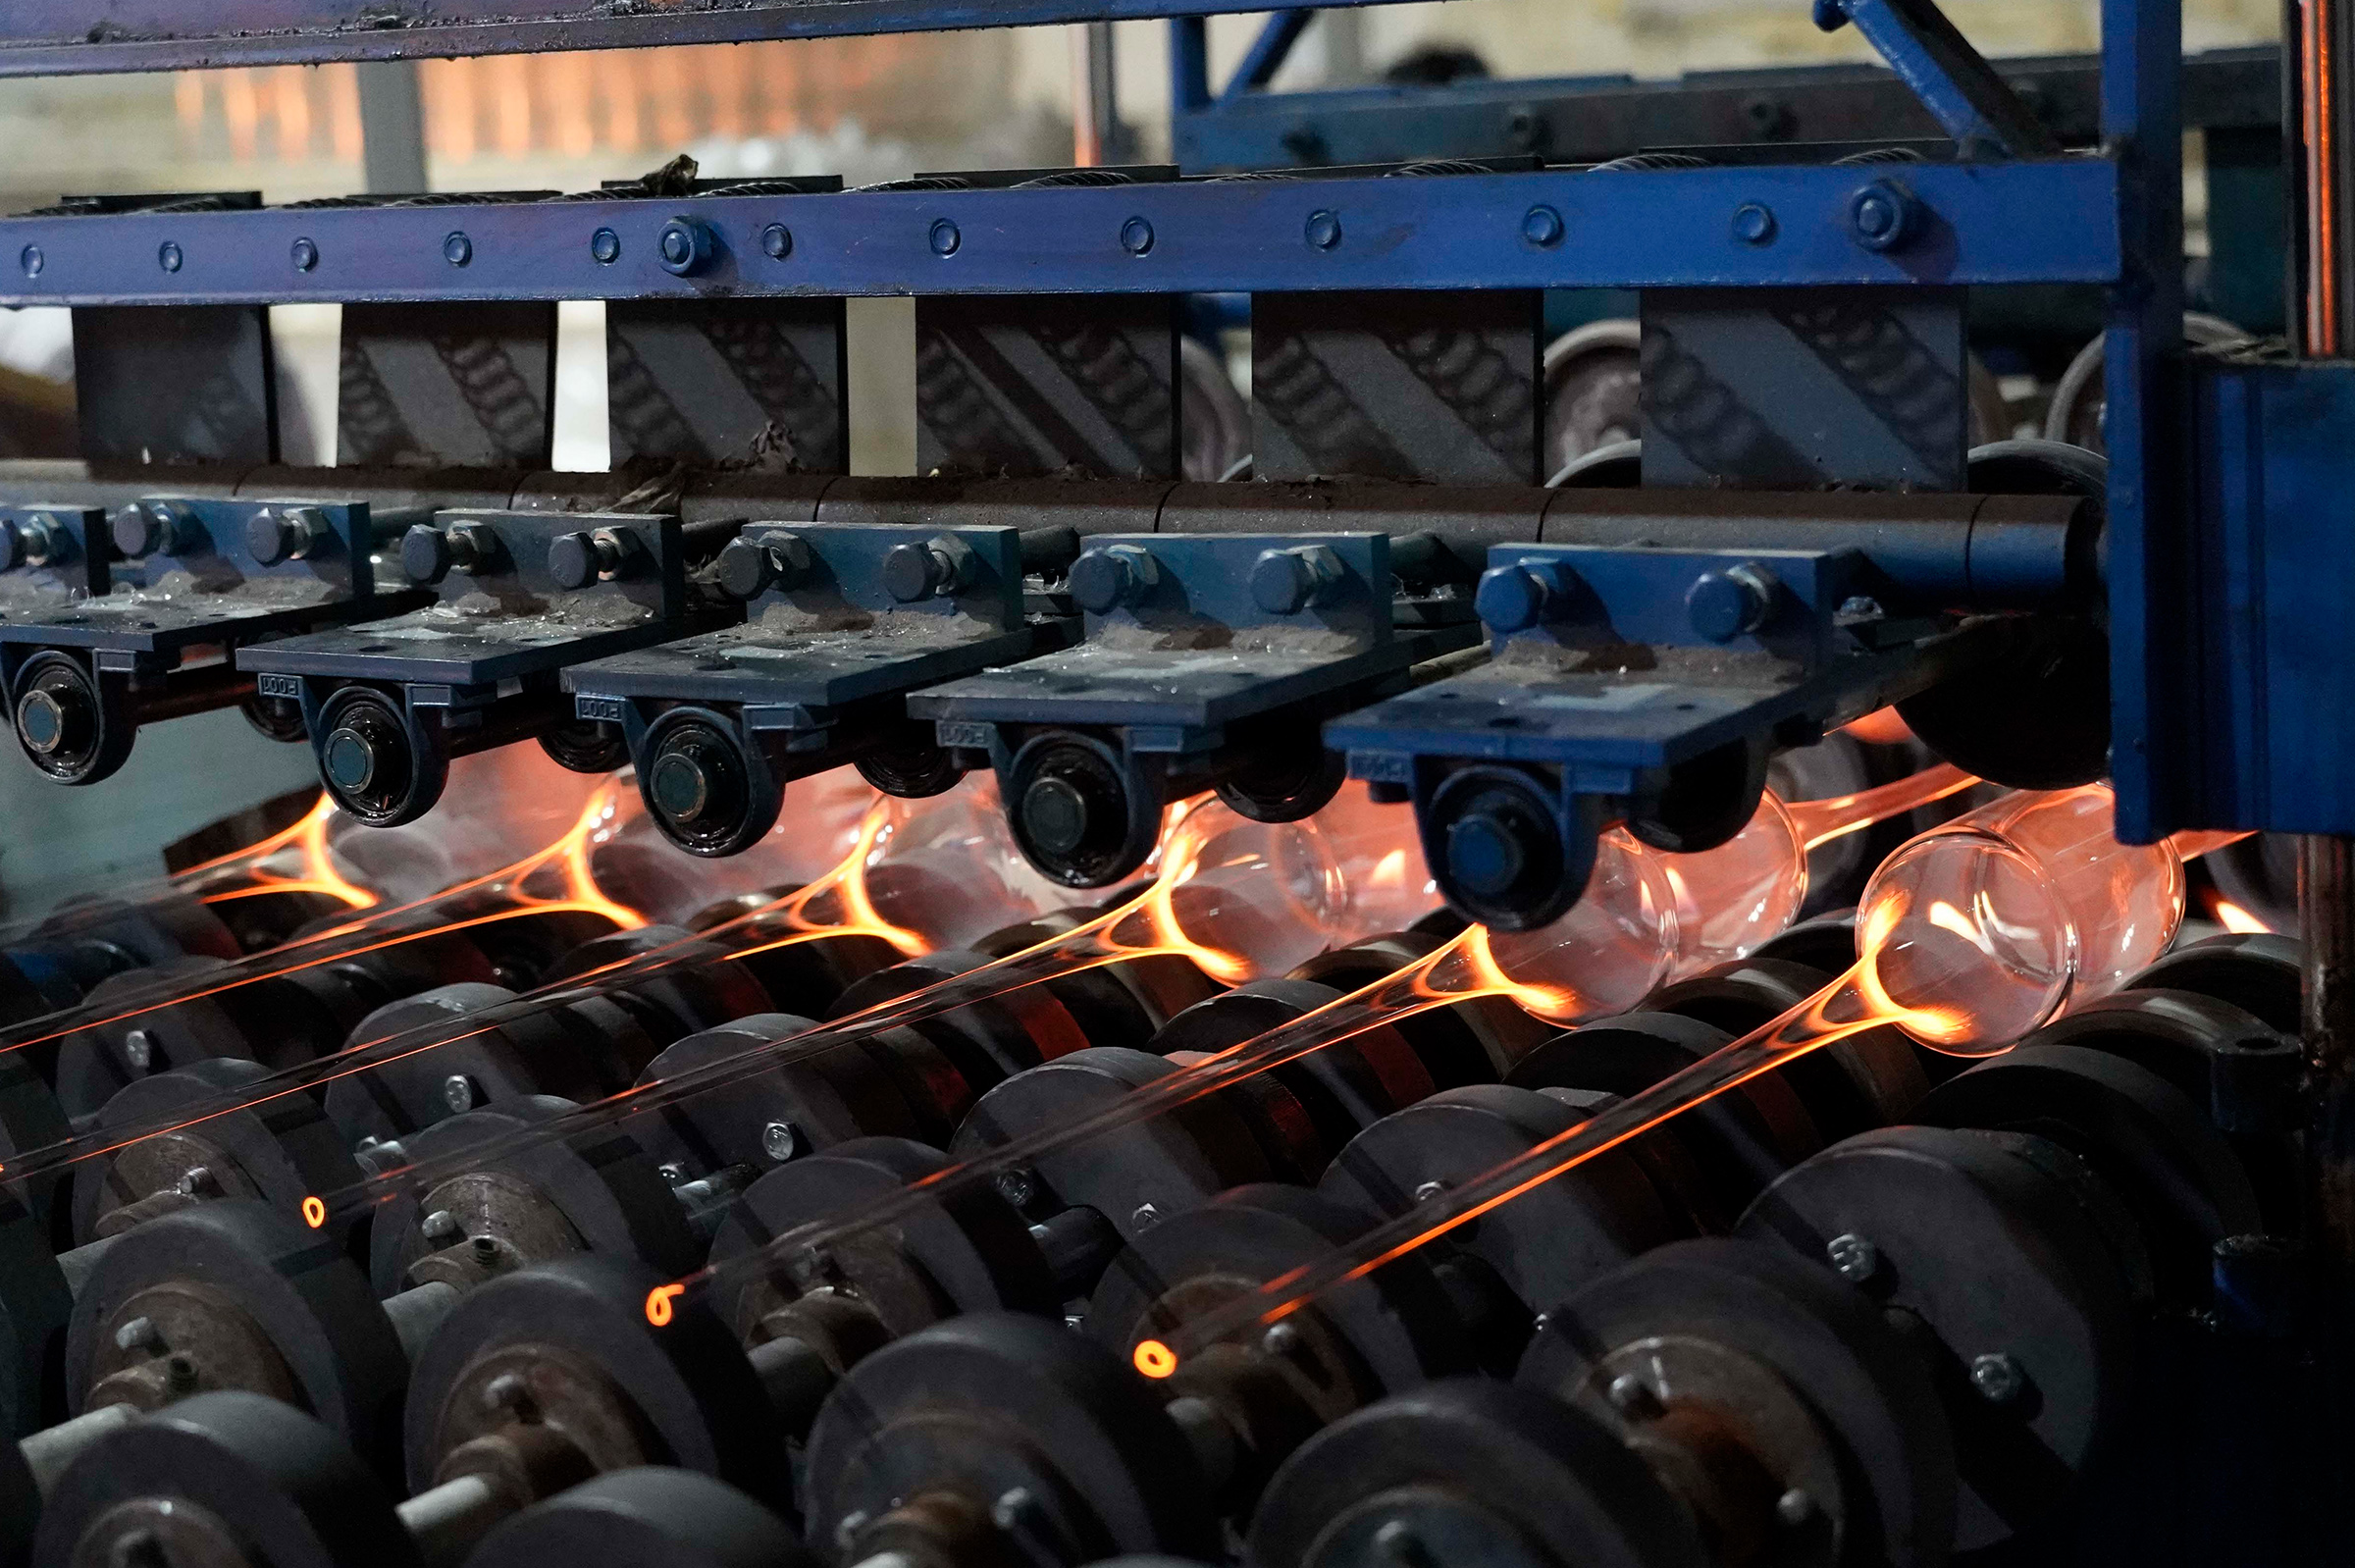
Step#2 Tube drawing
According to the size of the product to be manufactured, the glass tube is drawn and cut to a specified length using a tube drawing machine.
2
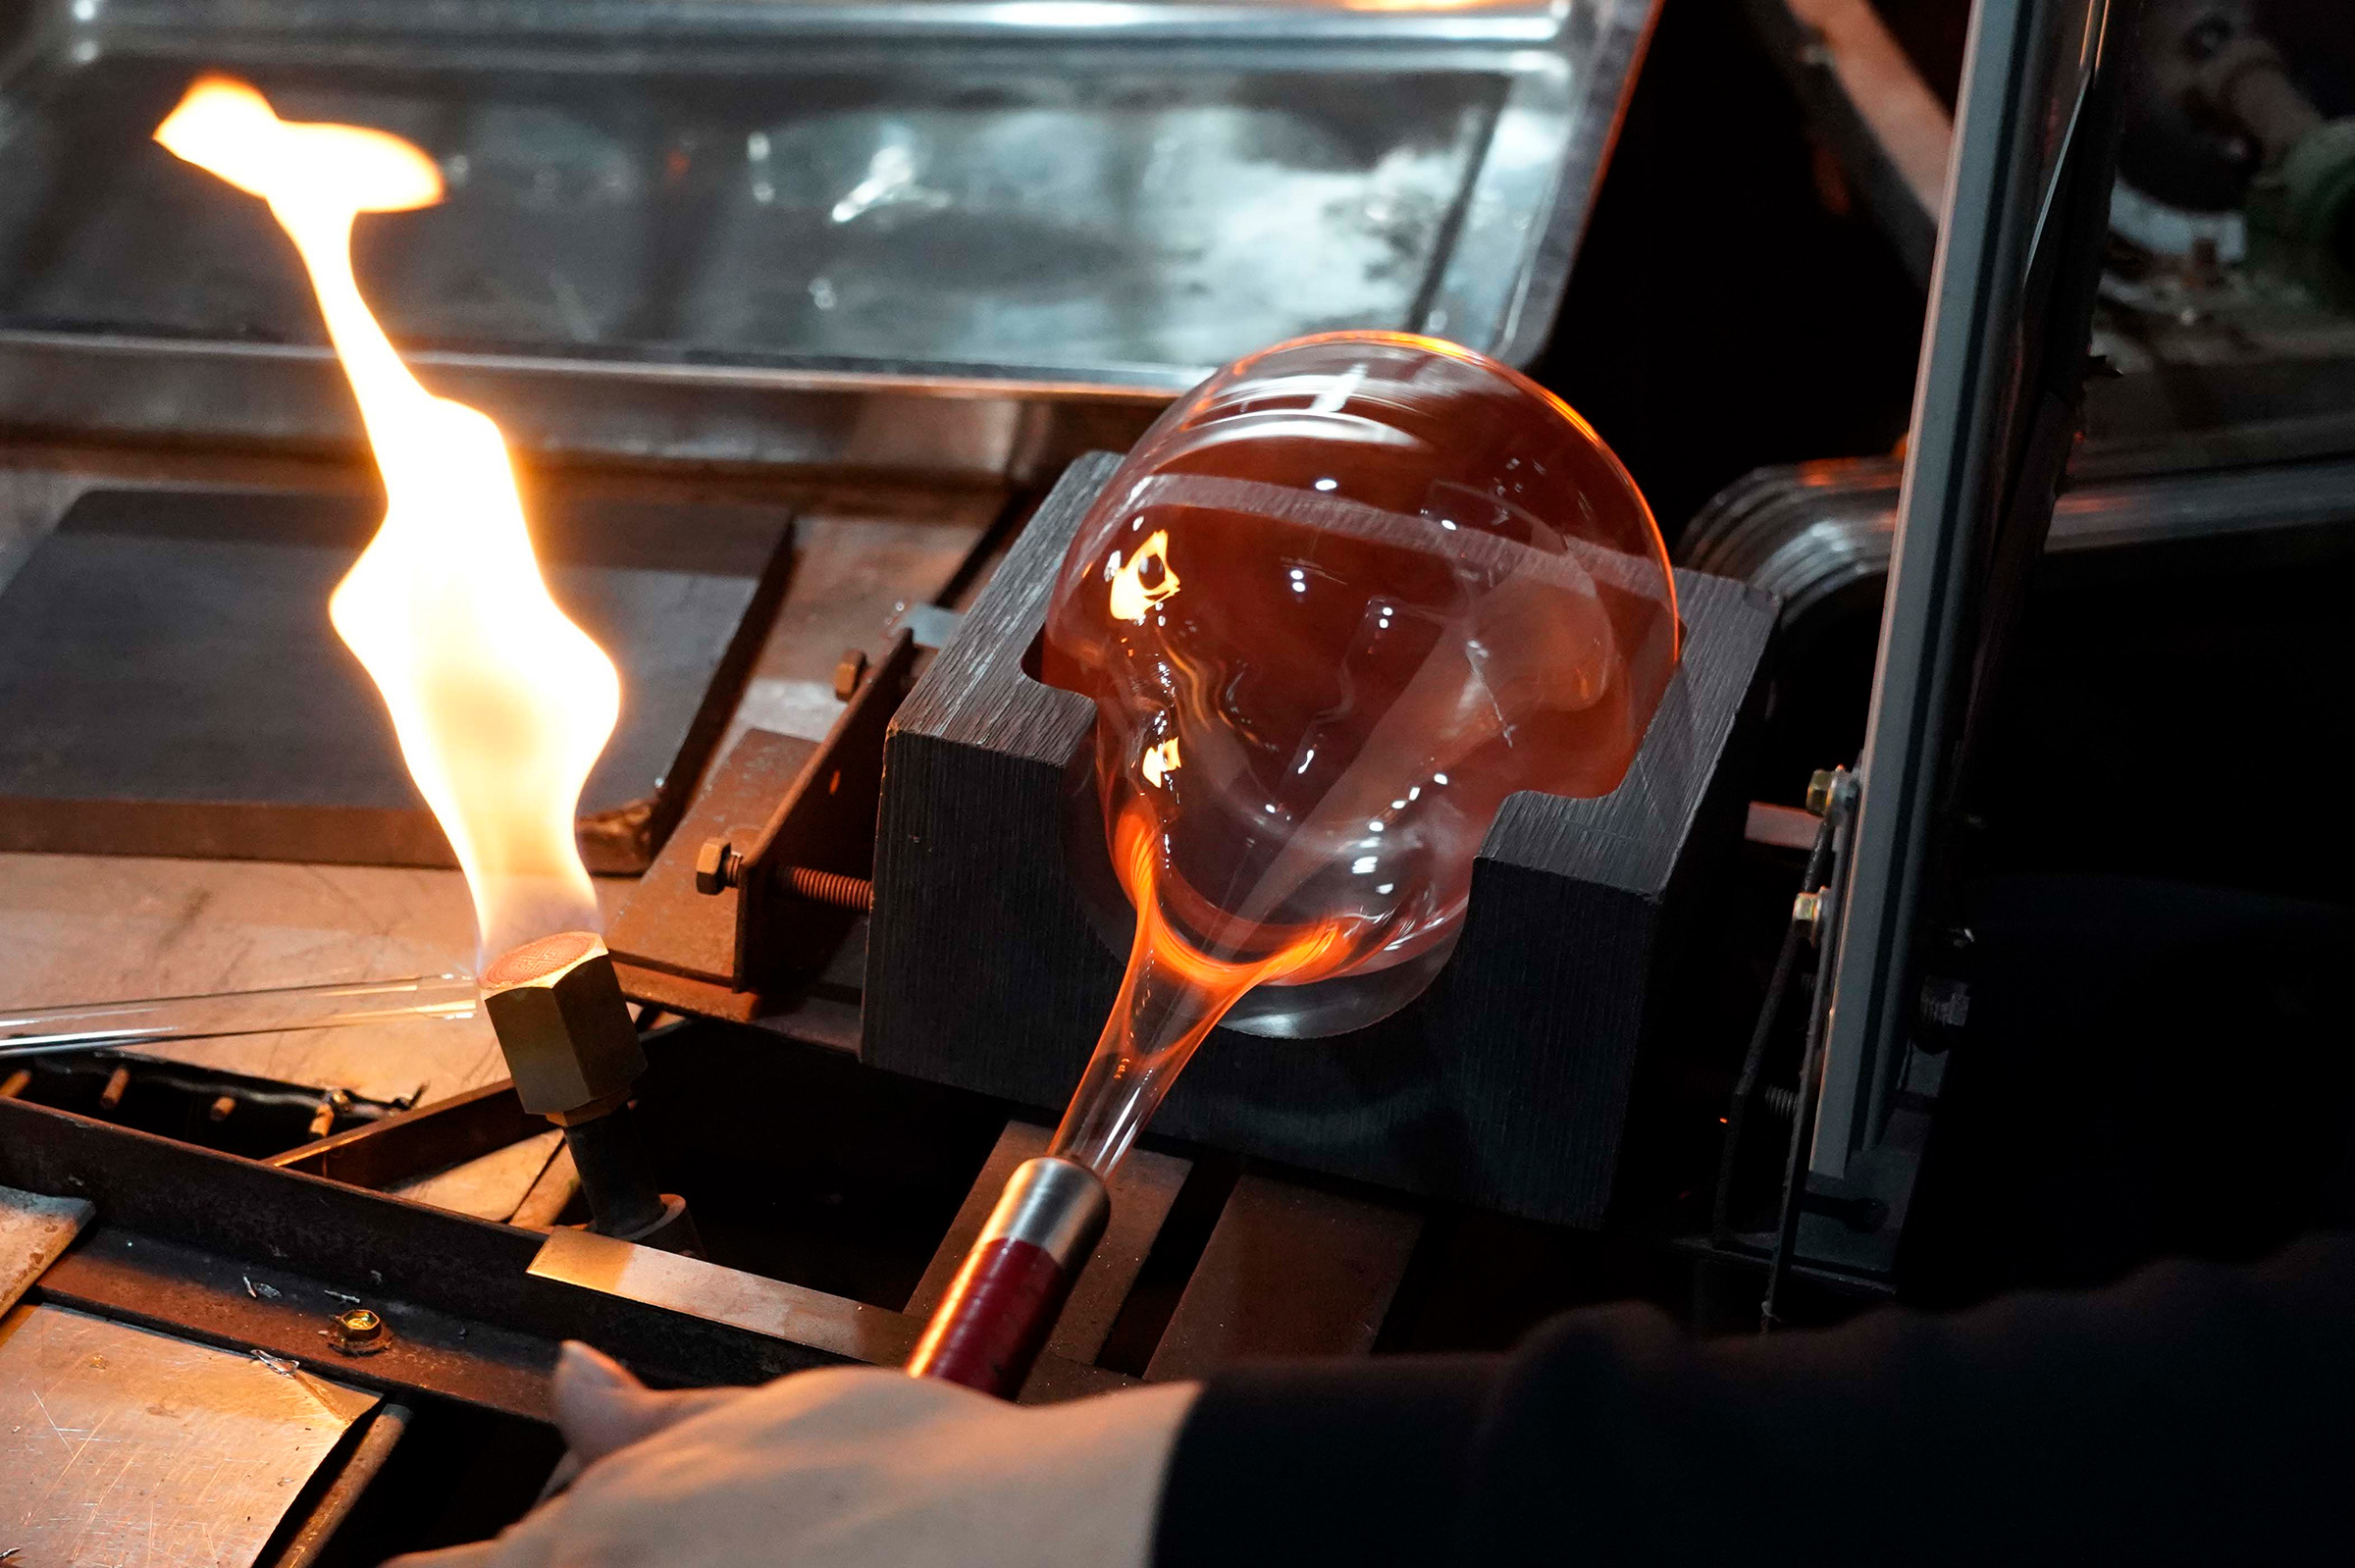
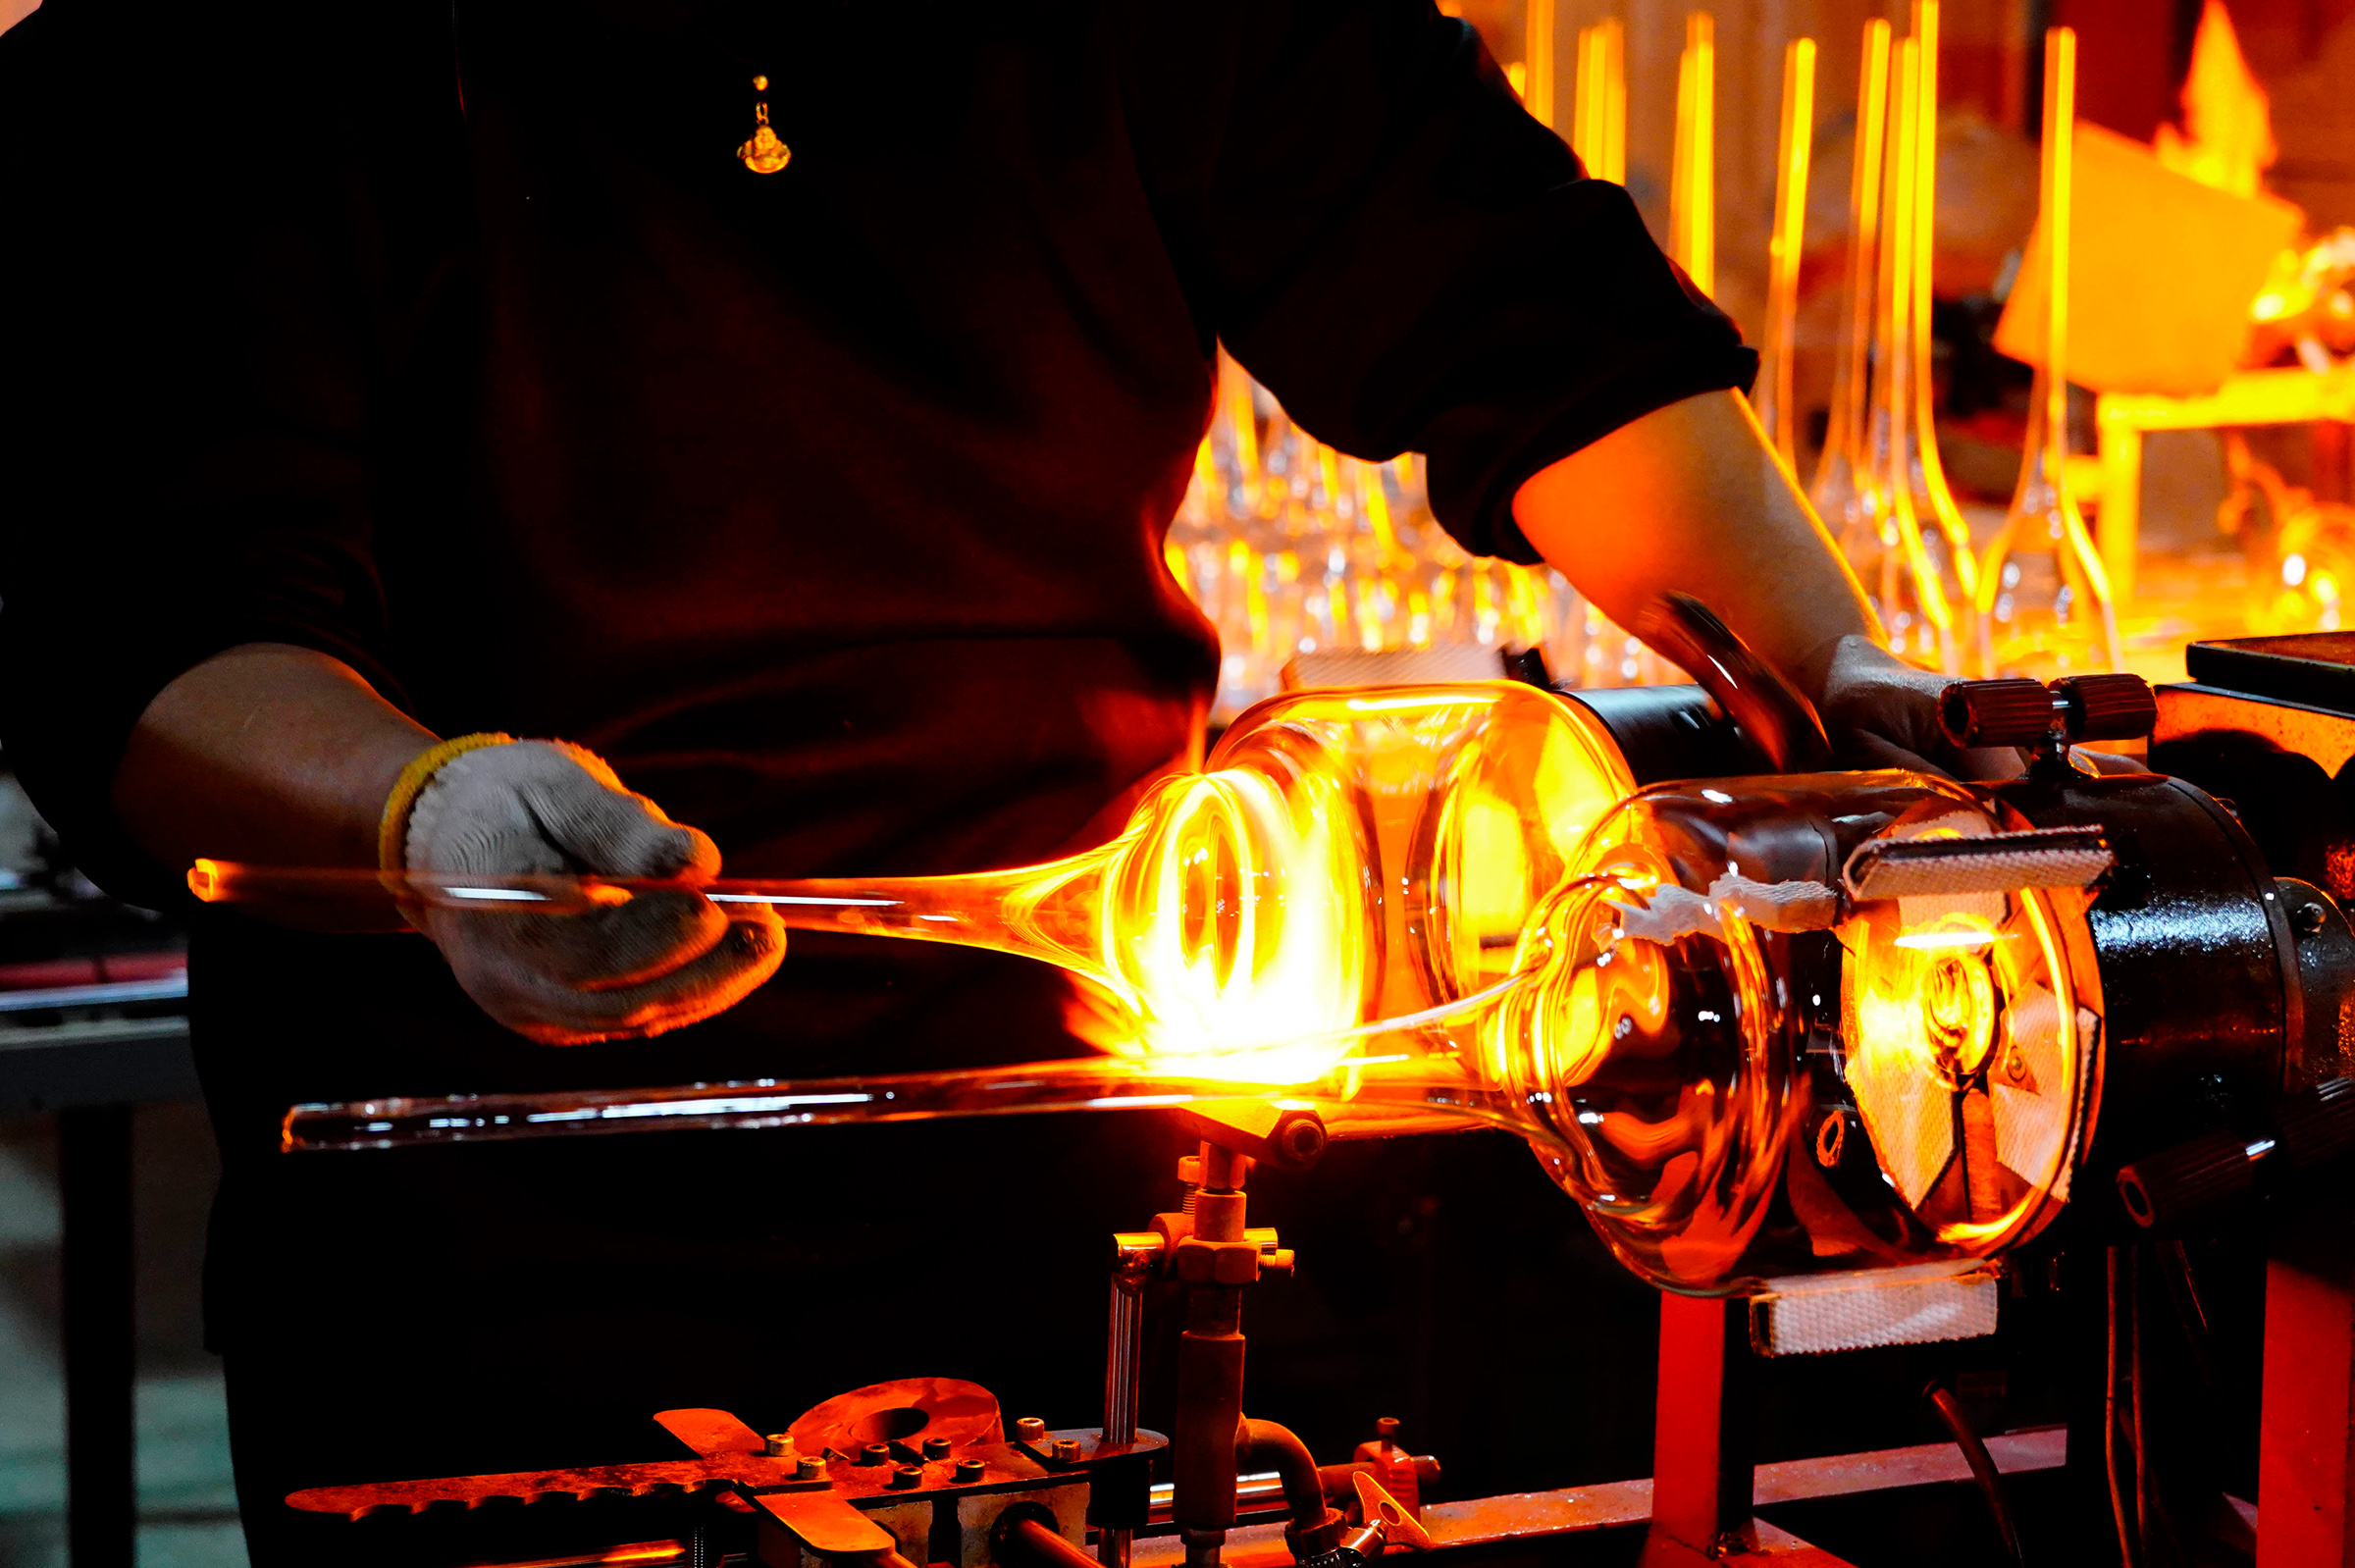
Step#3 Glass blowing
Experienced glassblowing masters heat the trimmed tubing units and place them into molds, then blow them into the desired shape and size. Open molds are generally used, but hinged molds are employed if the product surface has textures or irregular shapes.
3
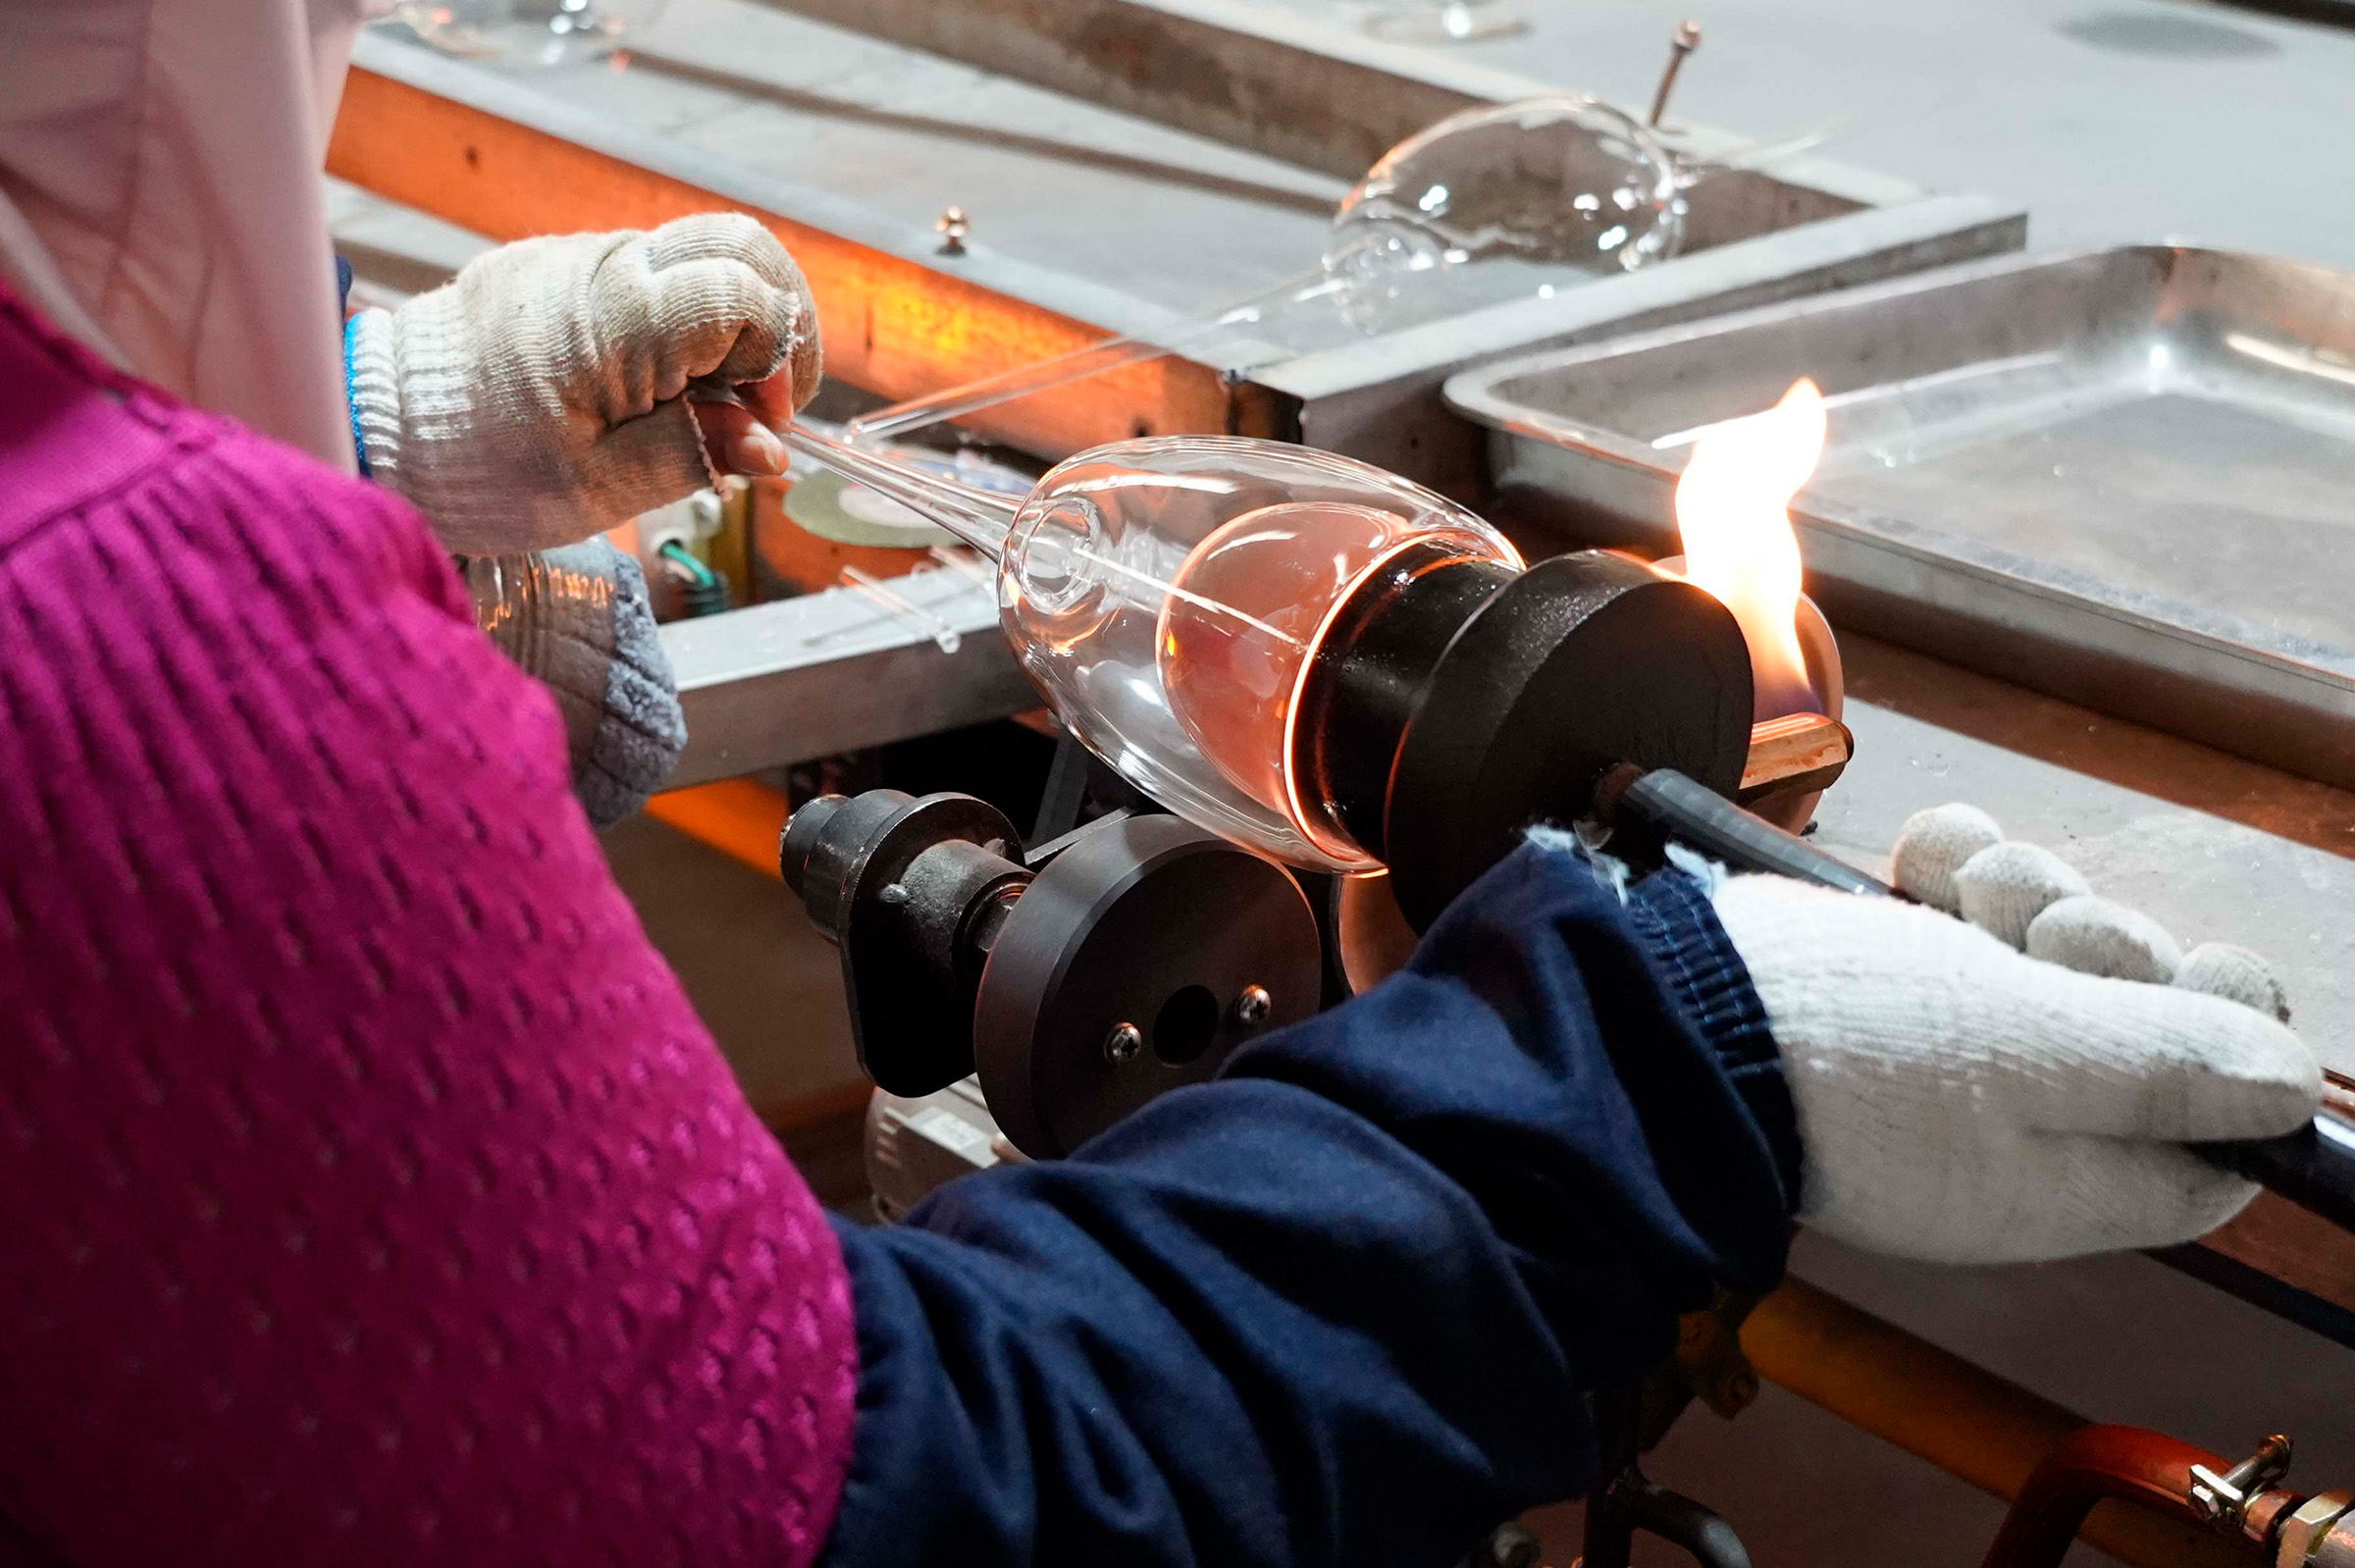
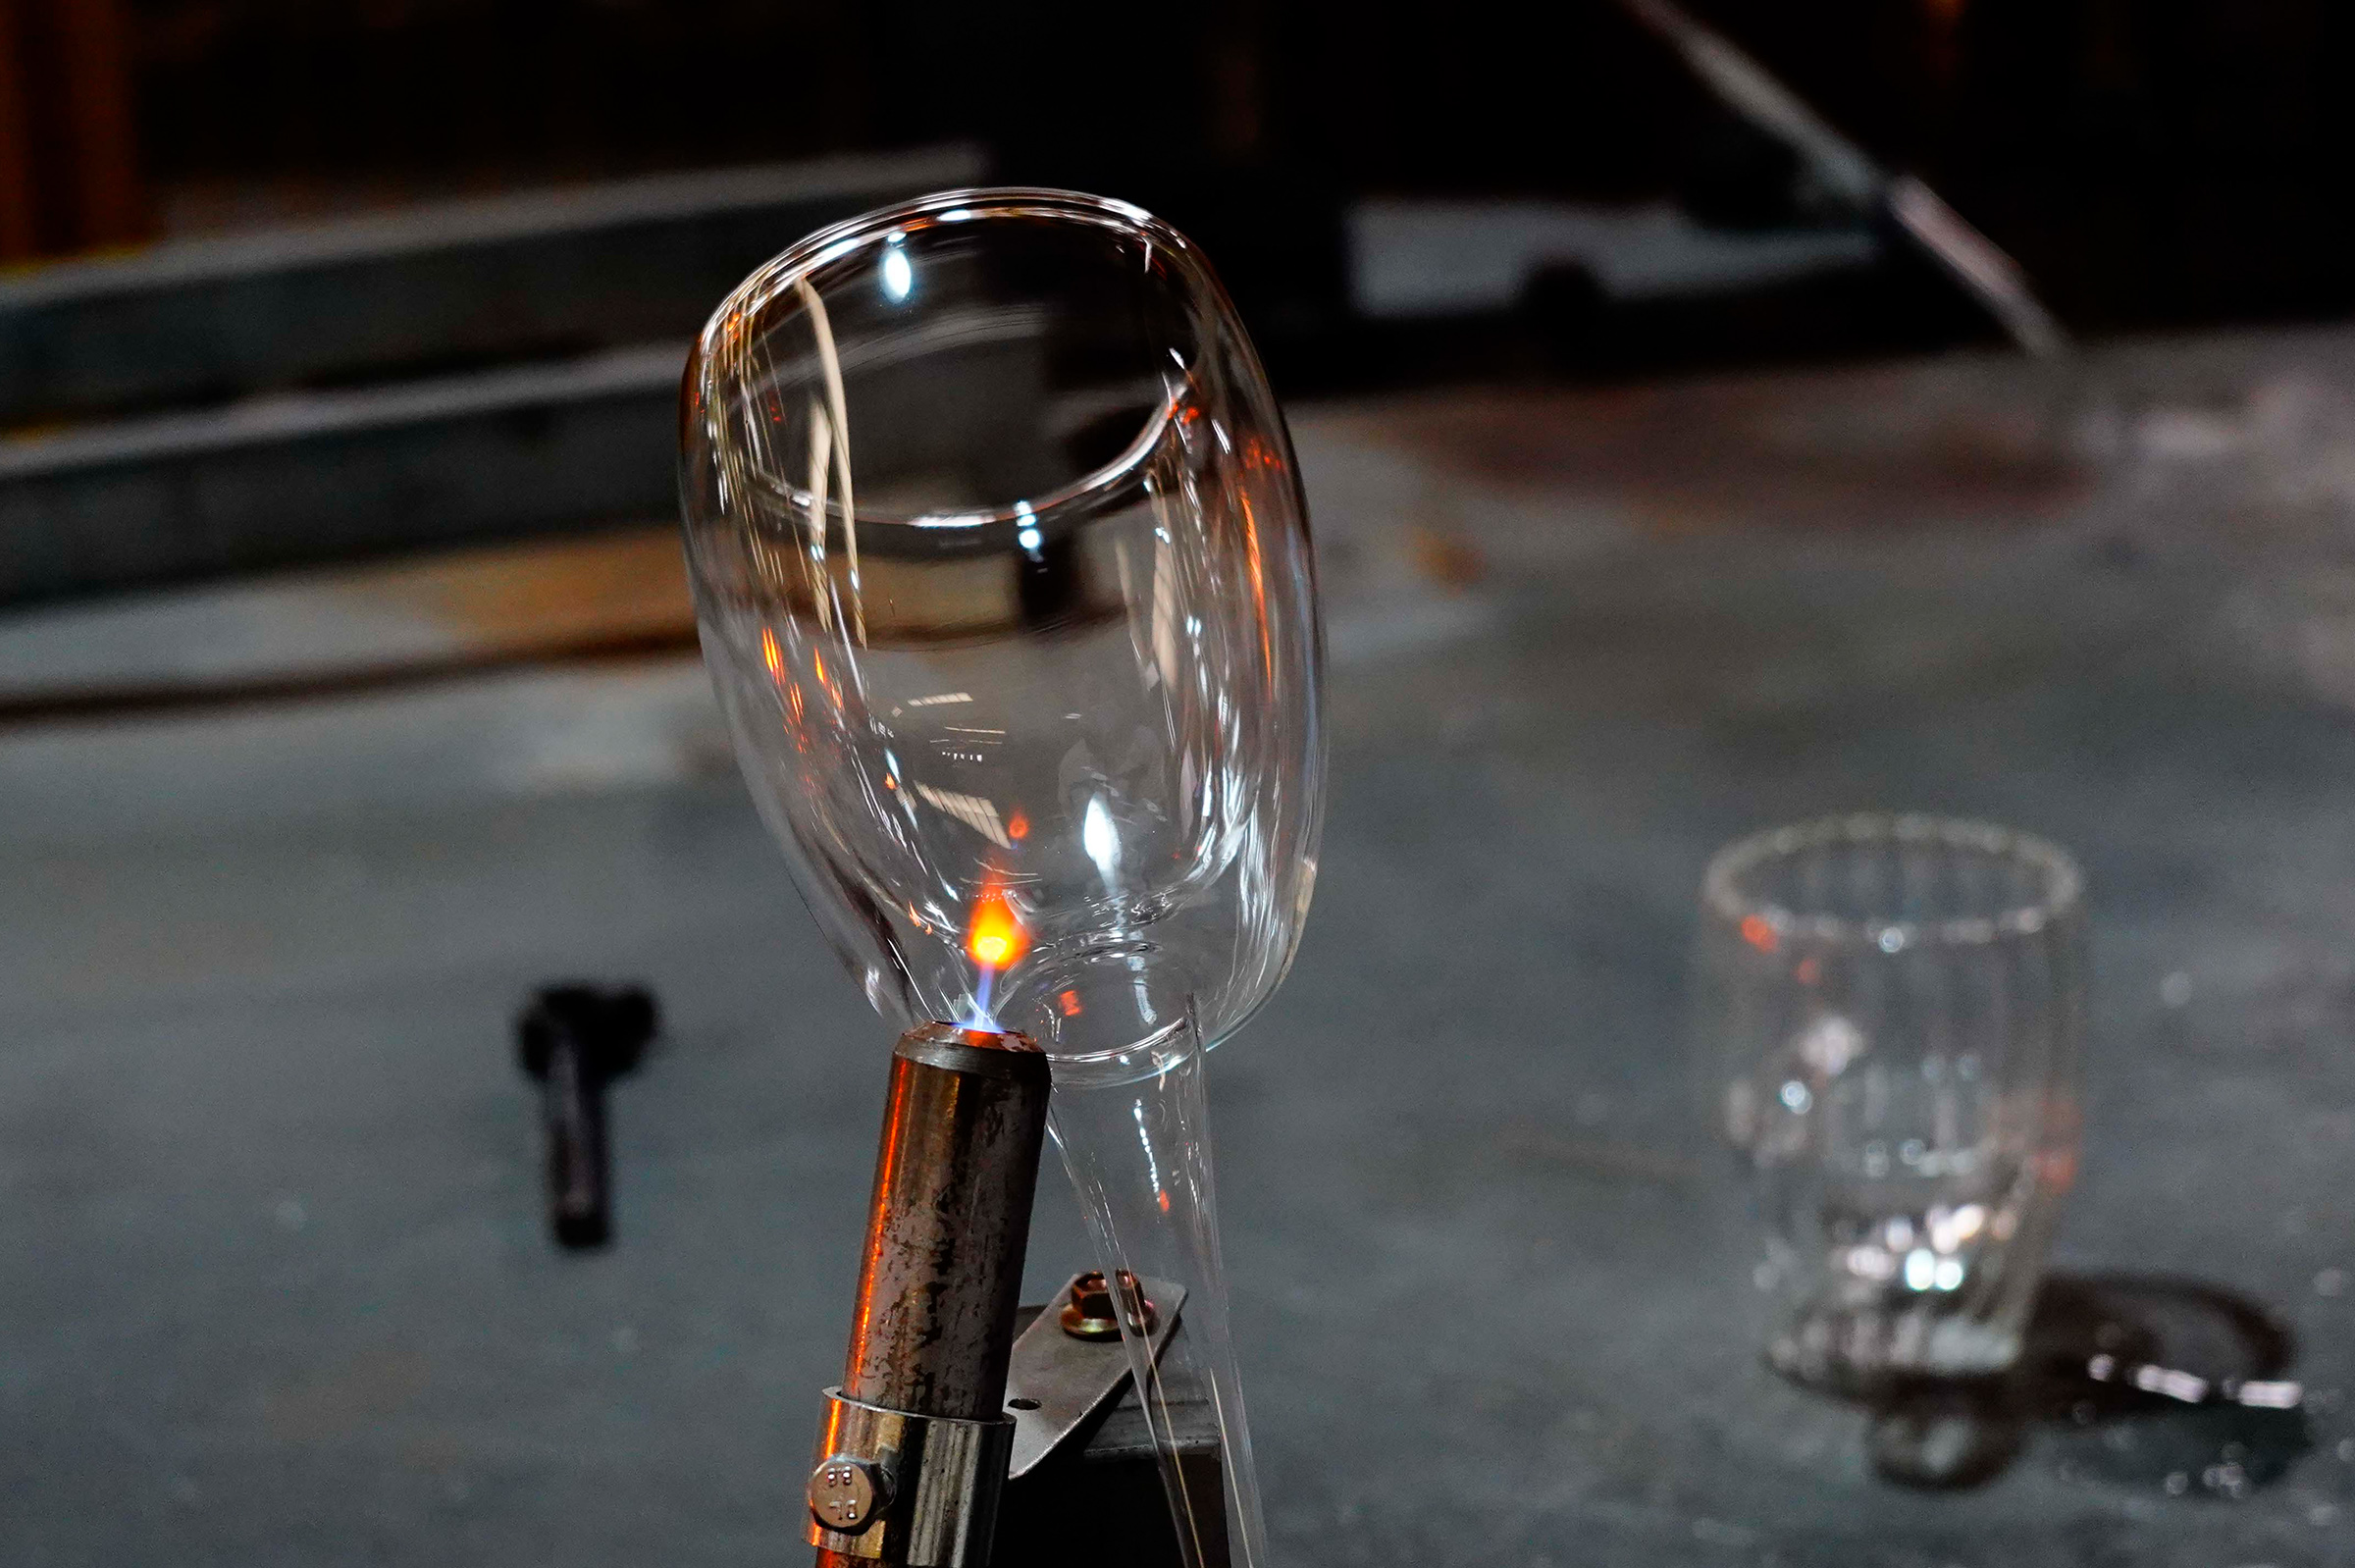
Step#4e Mouth cutting
The tube is drawn and cut along a high-temperature flame line to form the rim of a single-layer cup or pot.
4.1
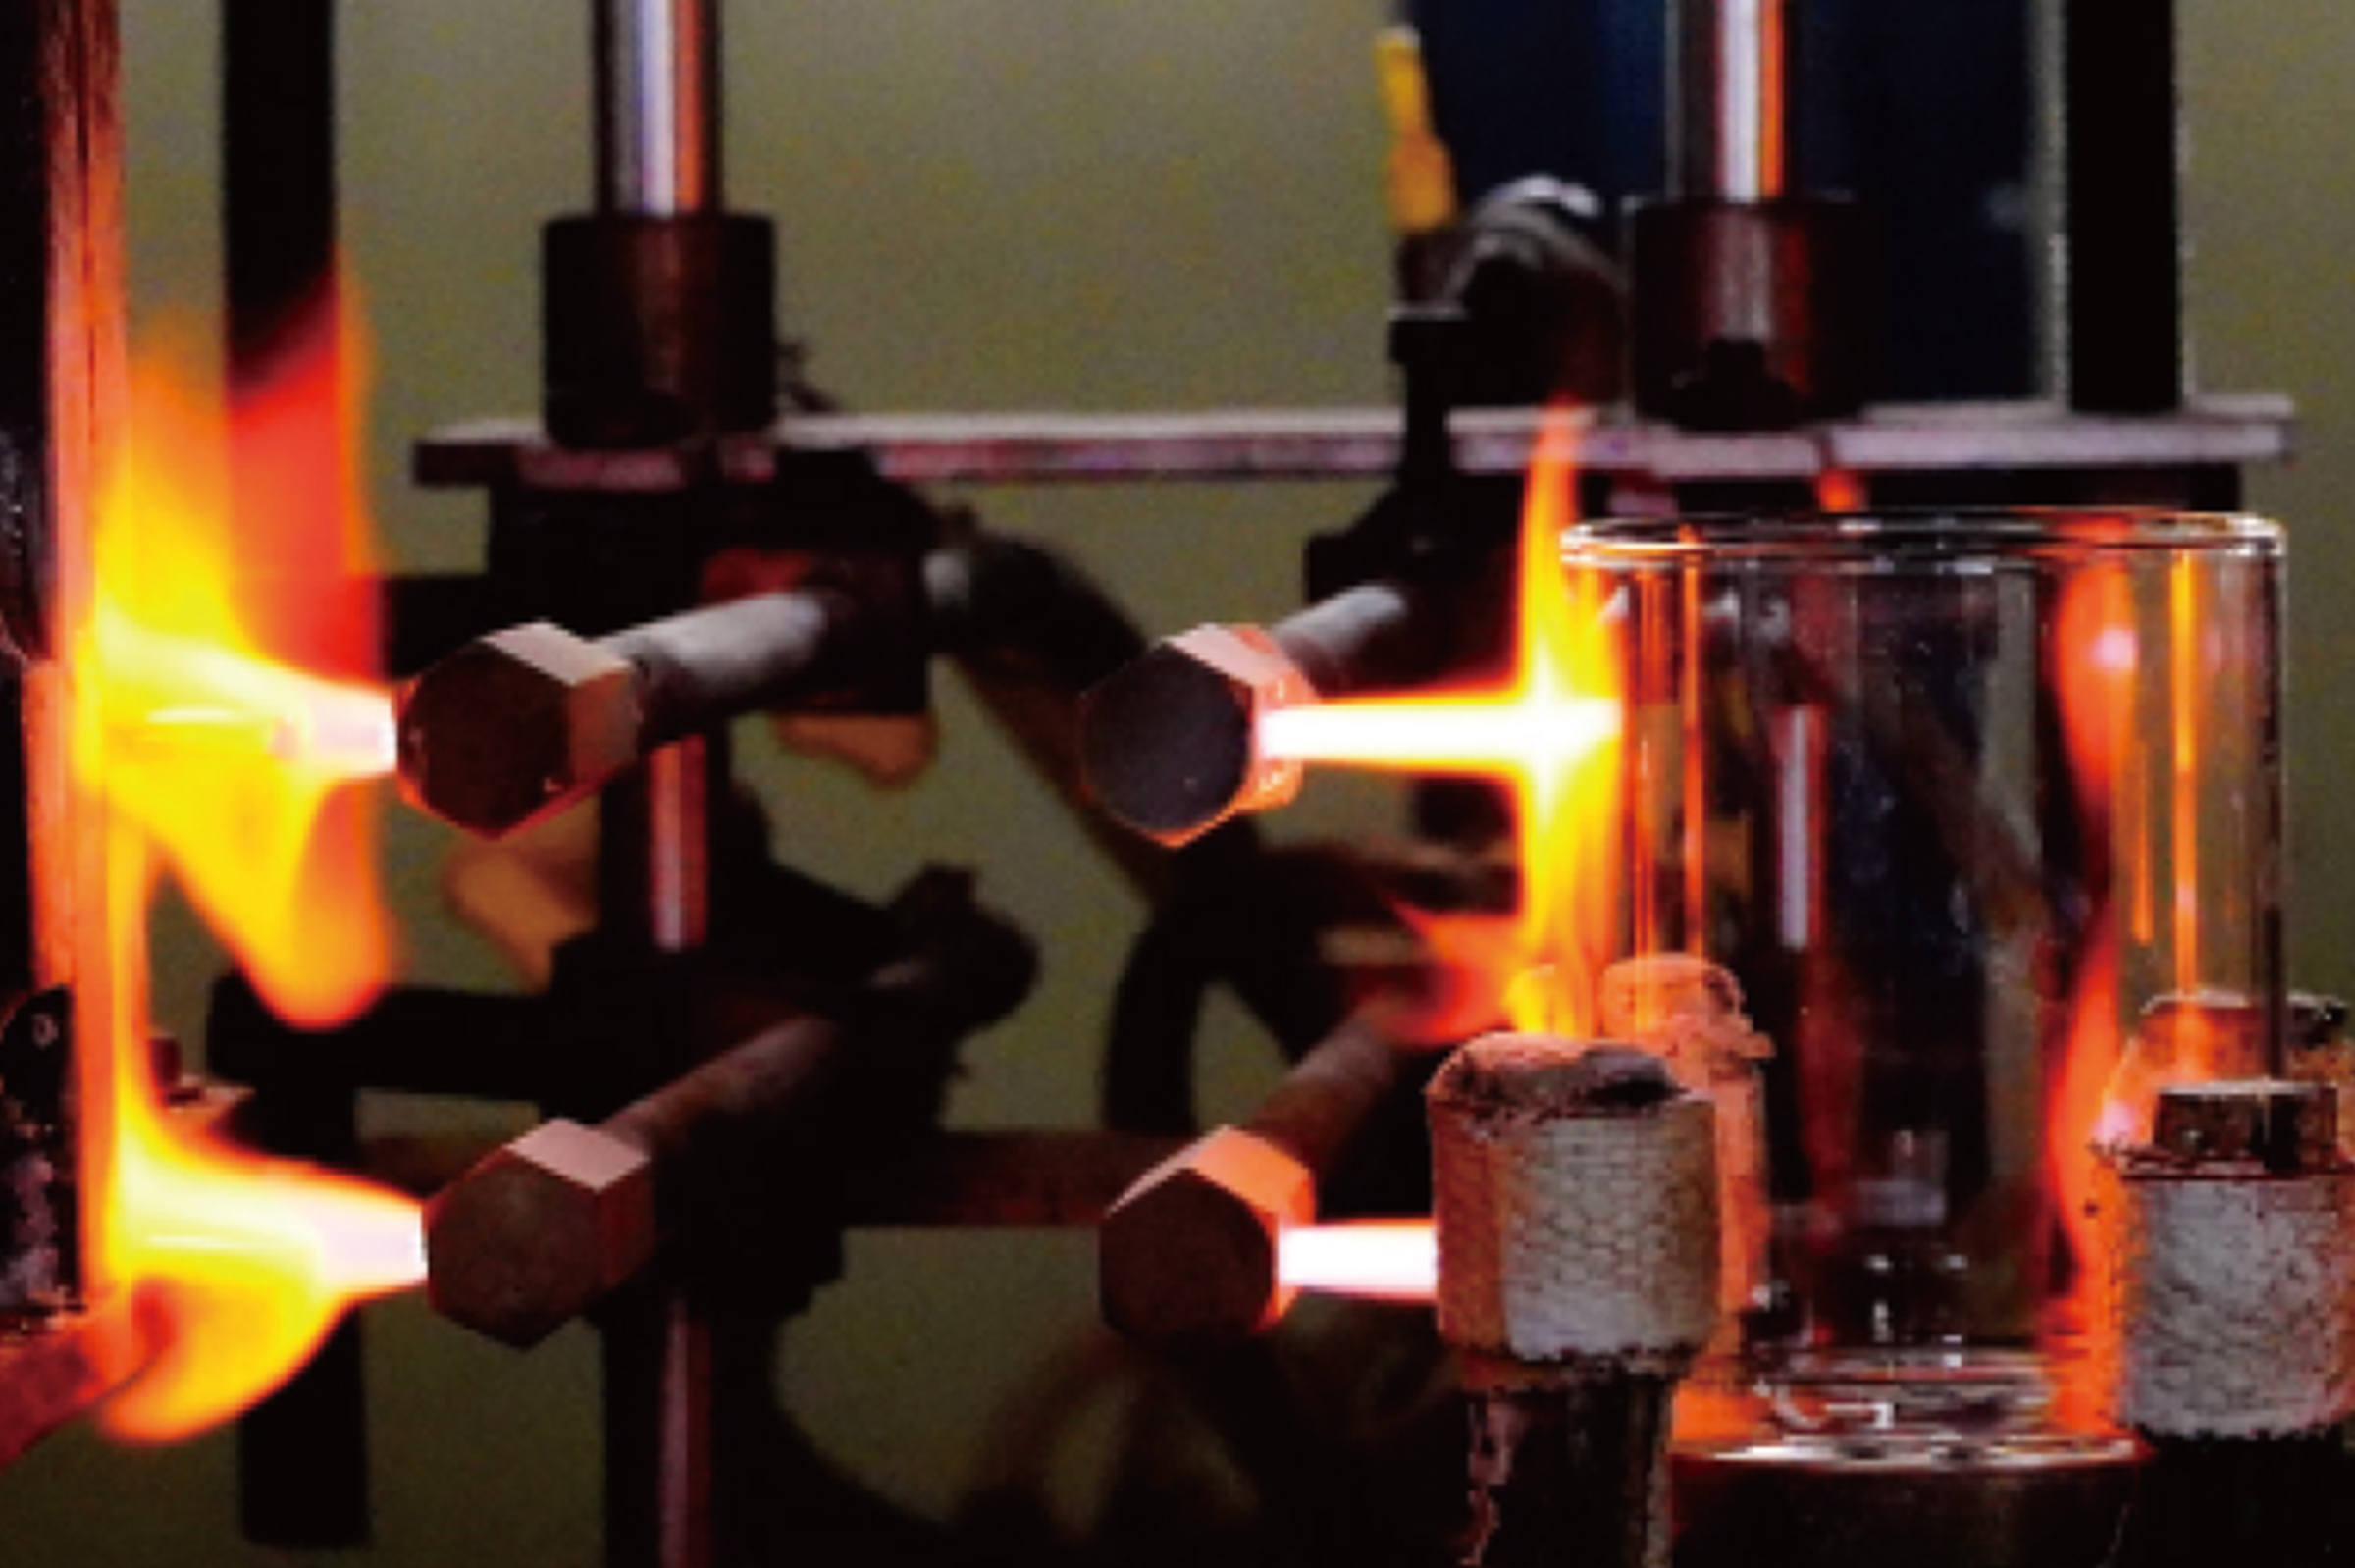
Step#4f Liner punching
Excess tubing is drawn and cut off using a high-temperature flame line, which also increases the thickness of the softened glass layer at the cut position, suitable for inward pressing of the liner punch to form a double-layer cup liner. Skilled SHULOPAL workers ensure the liner thickness is no less than 0.7mm, with height variations within 2mm for products from the same batch.
4.2
Step#5g Make pour
A single-wall teapot or cup can also have a compressed or pulled spout, or feature a long spout extending from the body
5.1
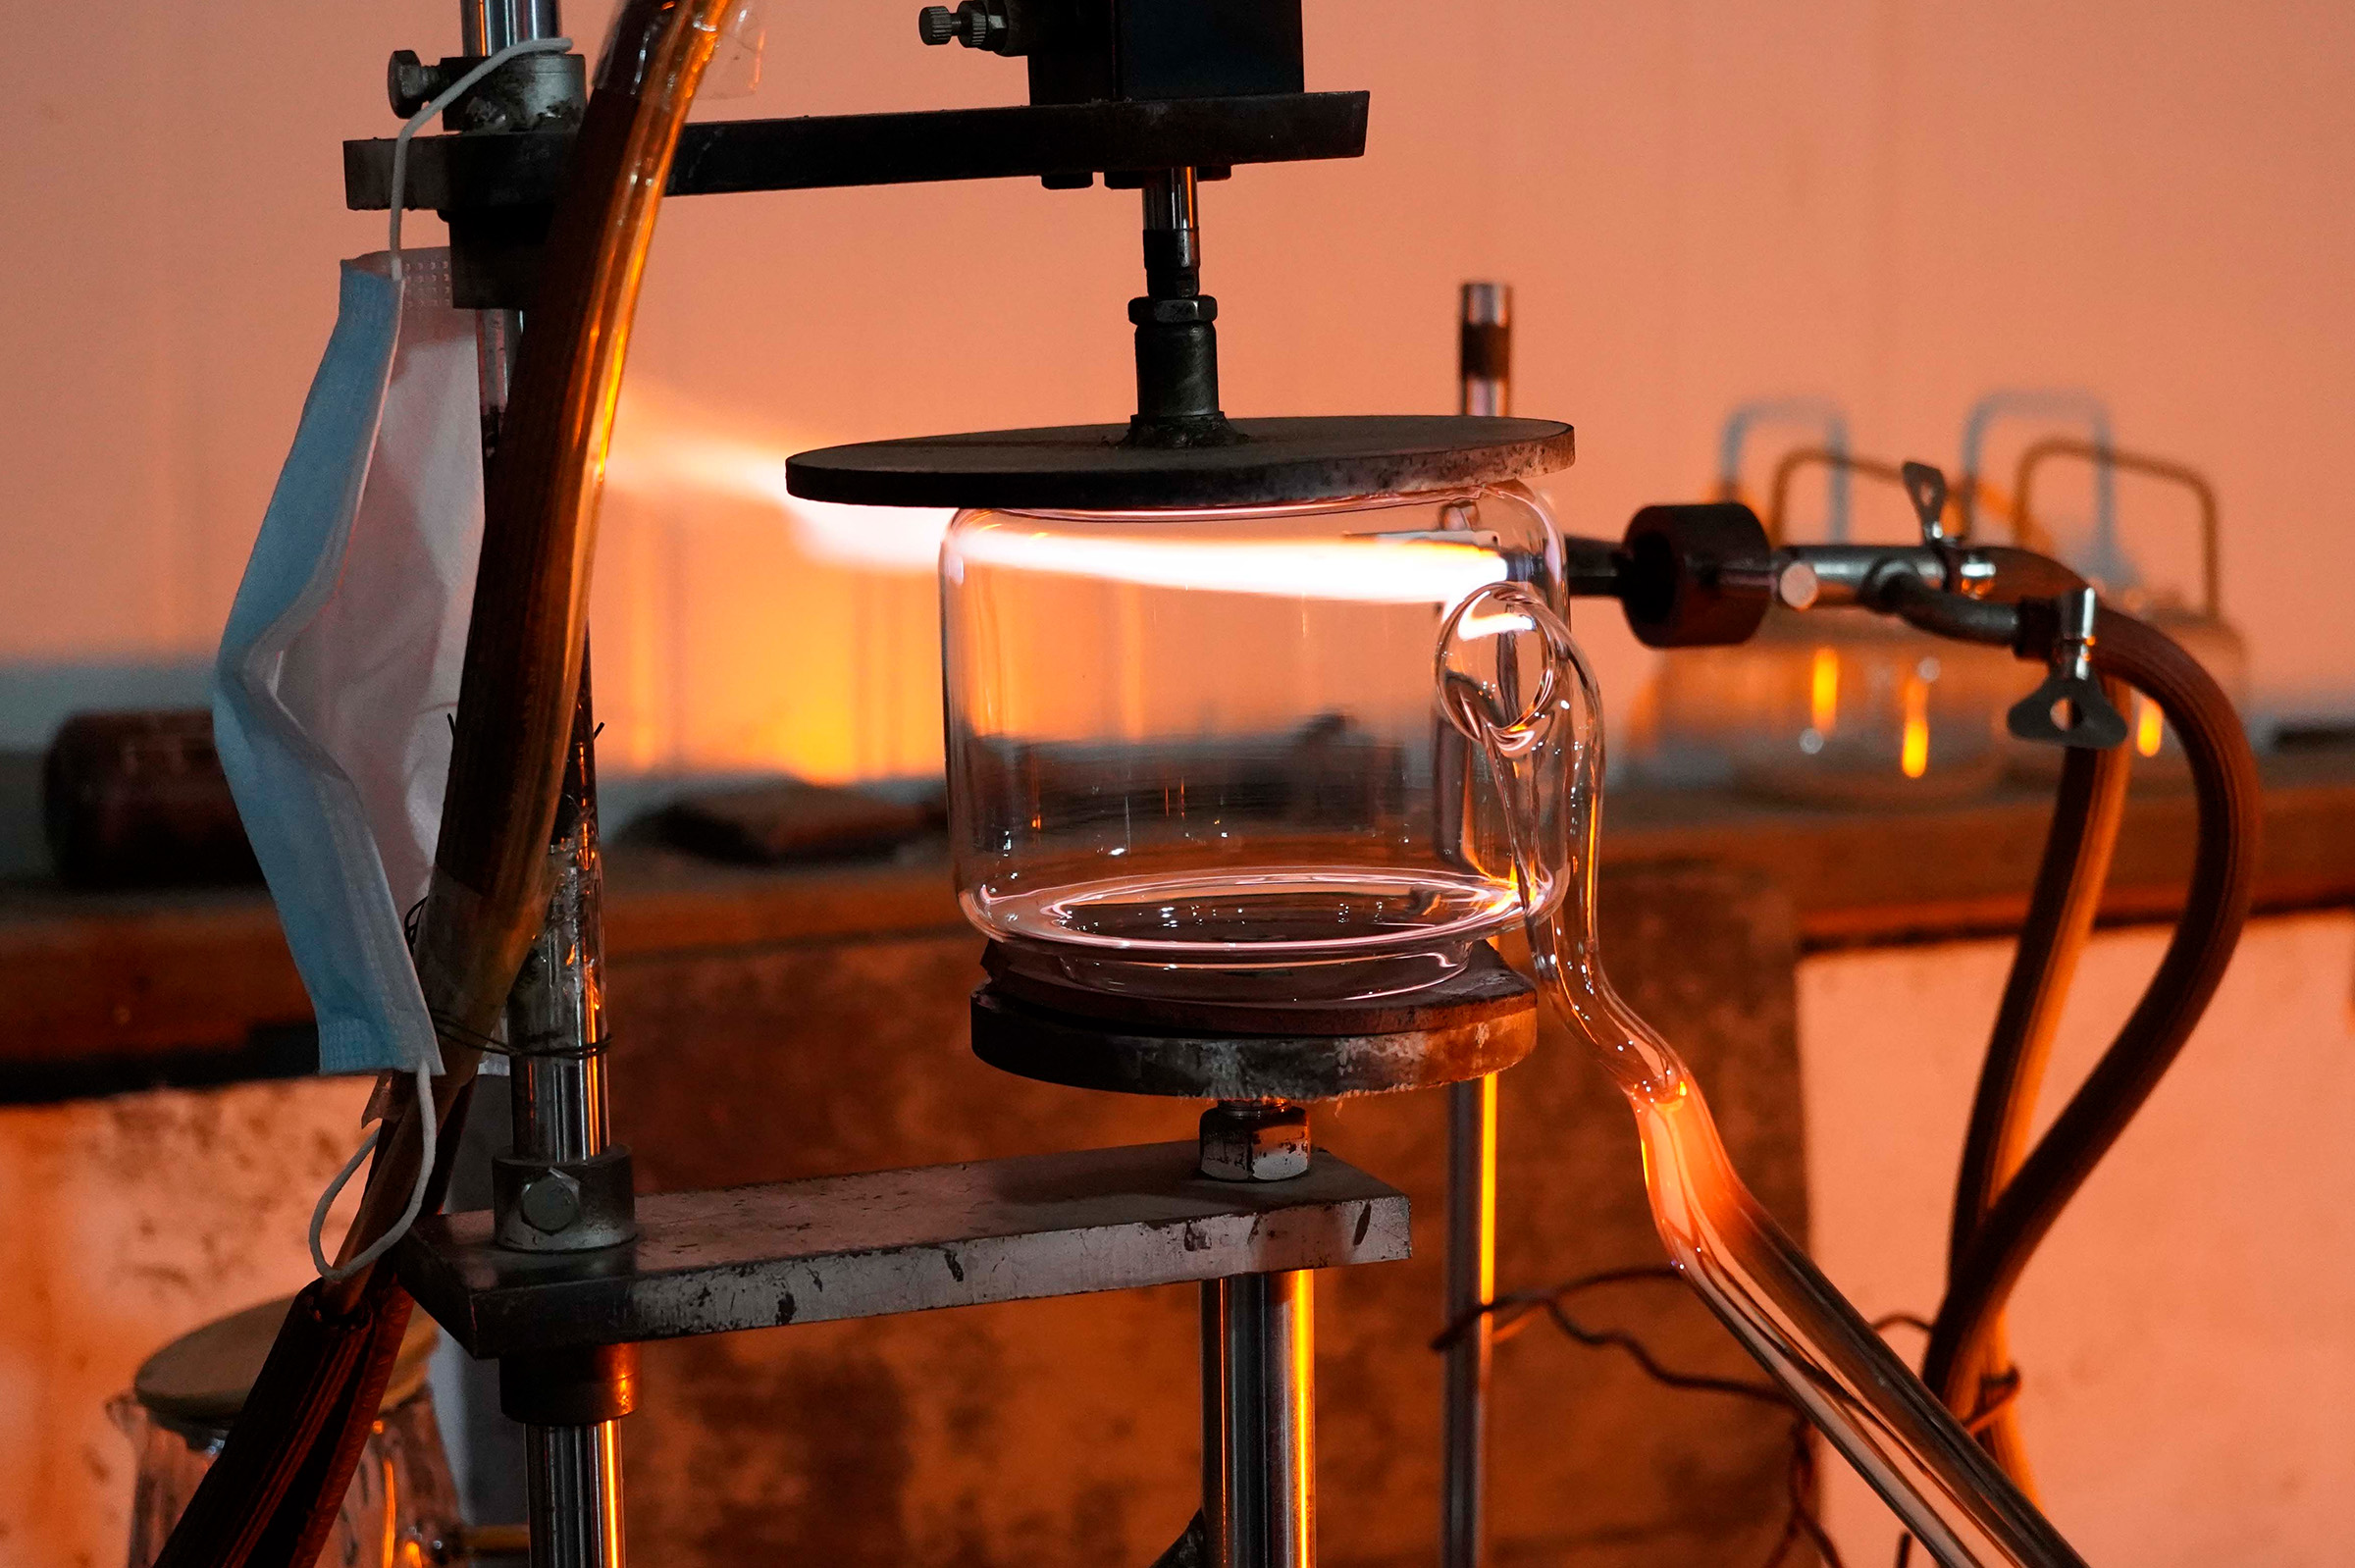
Step#5h Bottom close
Use a high-temperature flame wire to draw and cut off the excess tubing at the bottom. After perforating the bottom, place it on a graphite plate at a set temperature and let it rest until the bottom becomes flat.
5.2
Step#6 Stick handle
Heat both the glass handle and the joint on the cup body, then attach the handle.
6
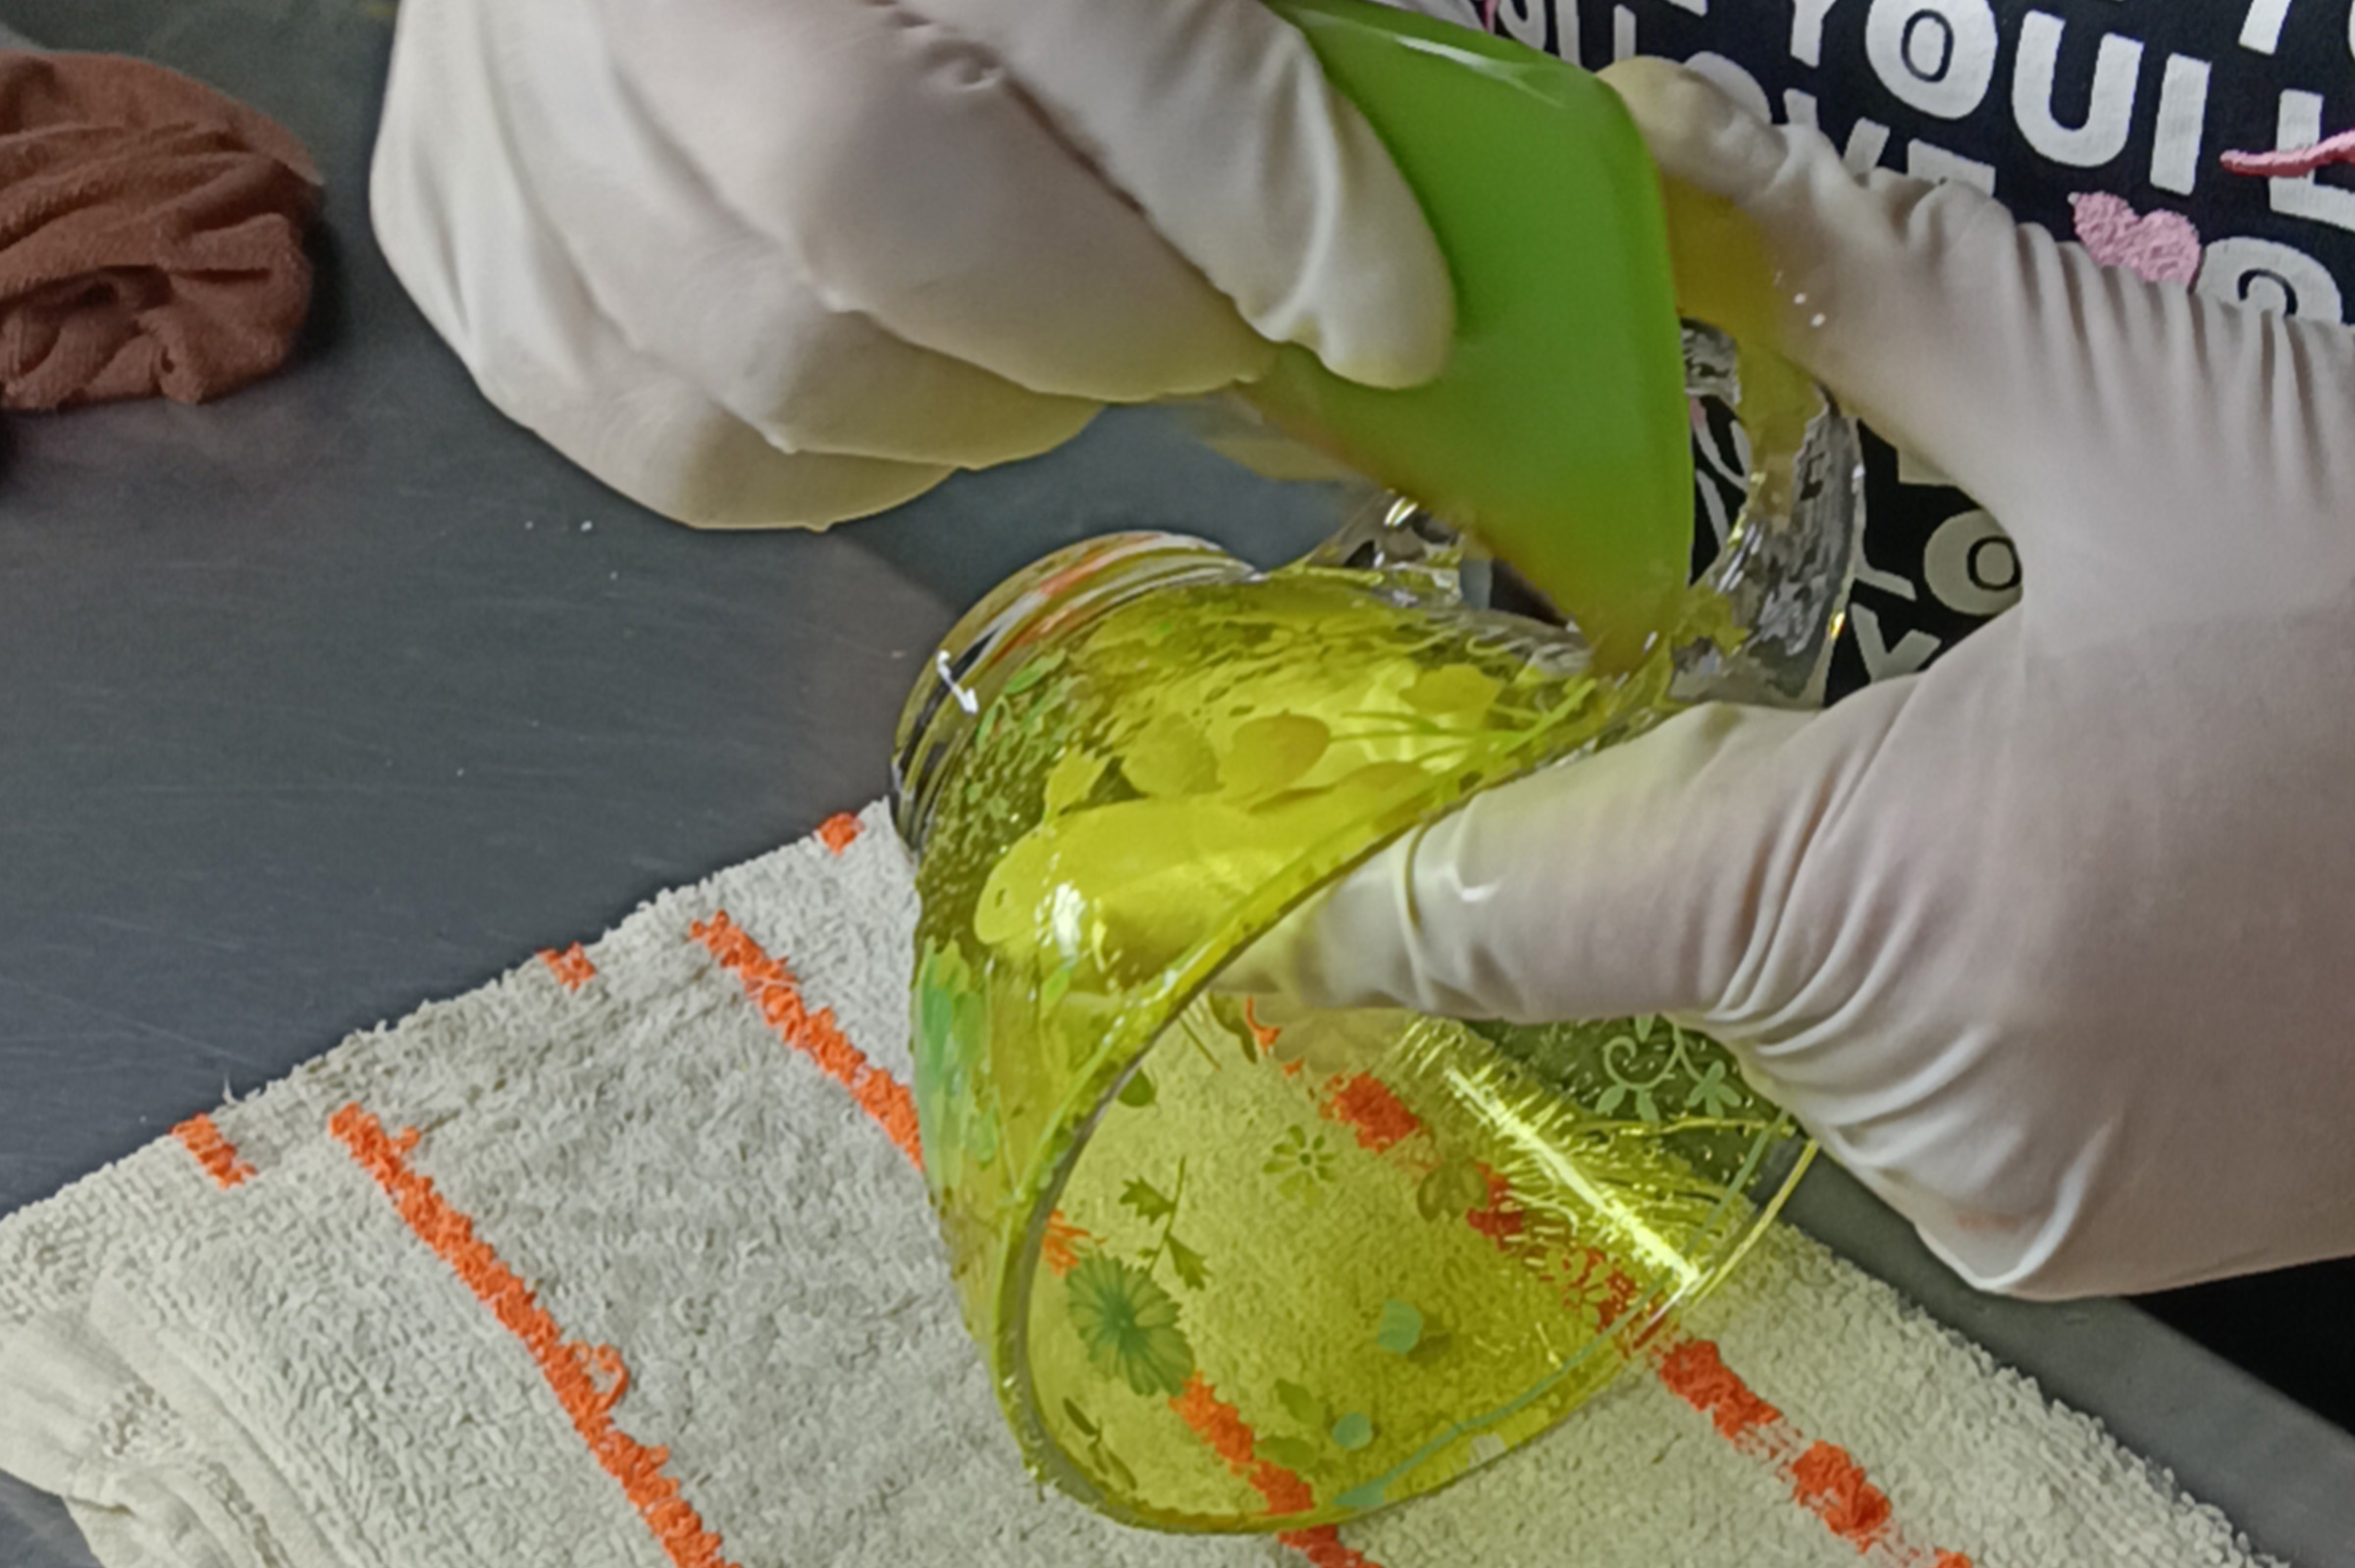
Step#7 Fill decoration
You can also fill the double-walled cup with your favorite dried flowers, shells, and other decorations, making it very beautiful!
7
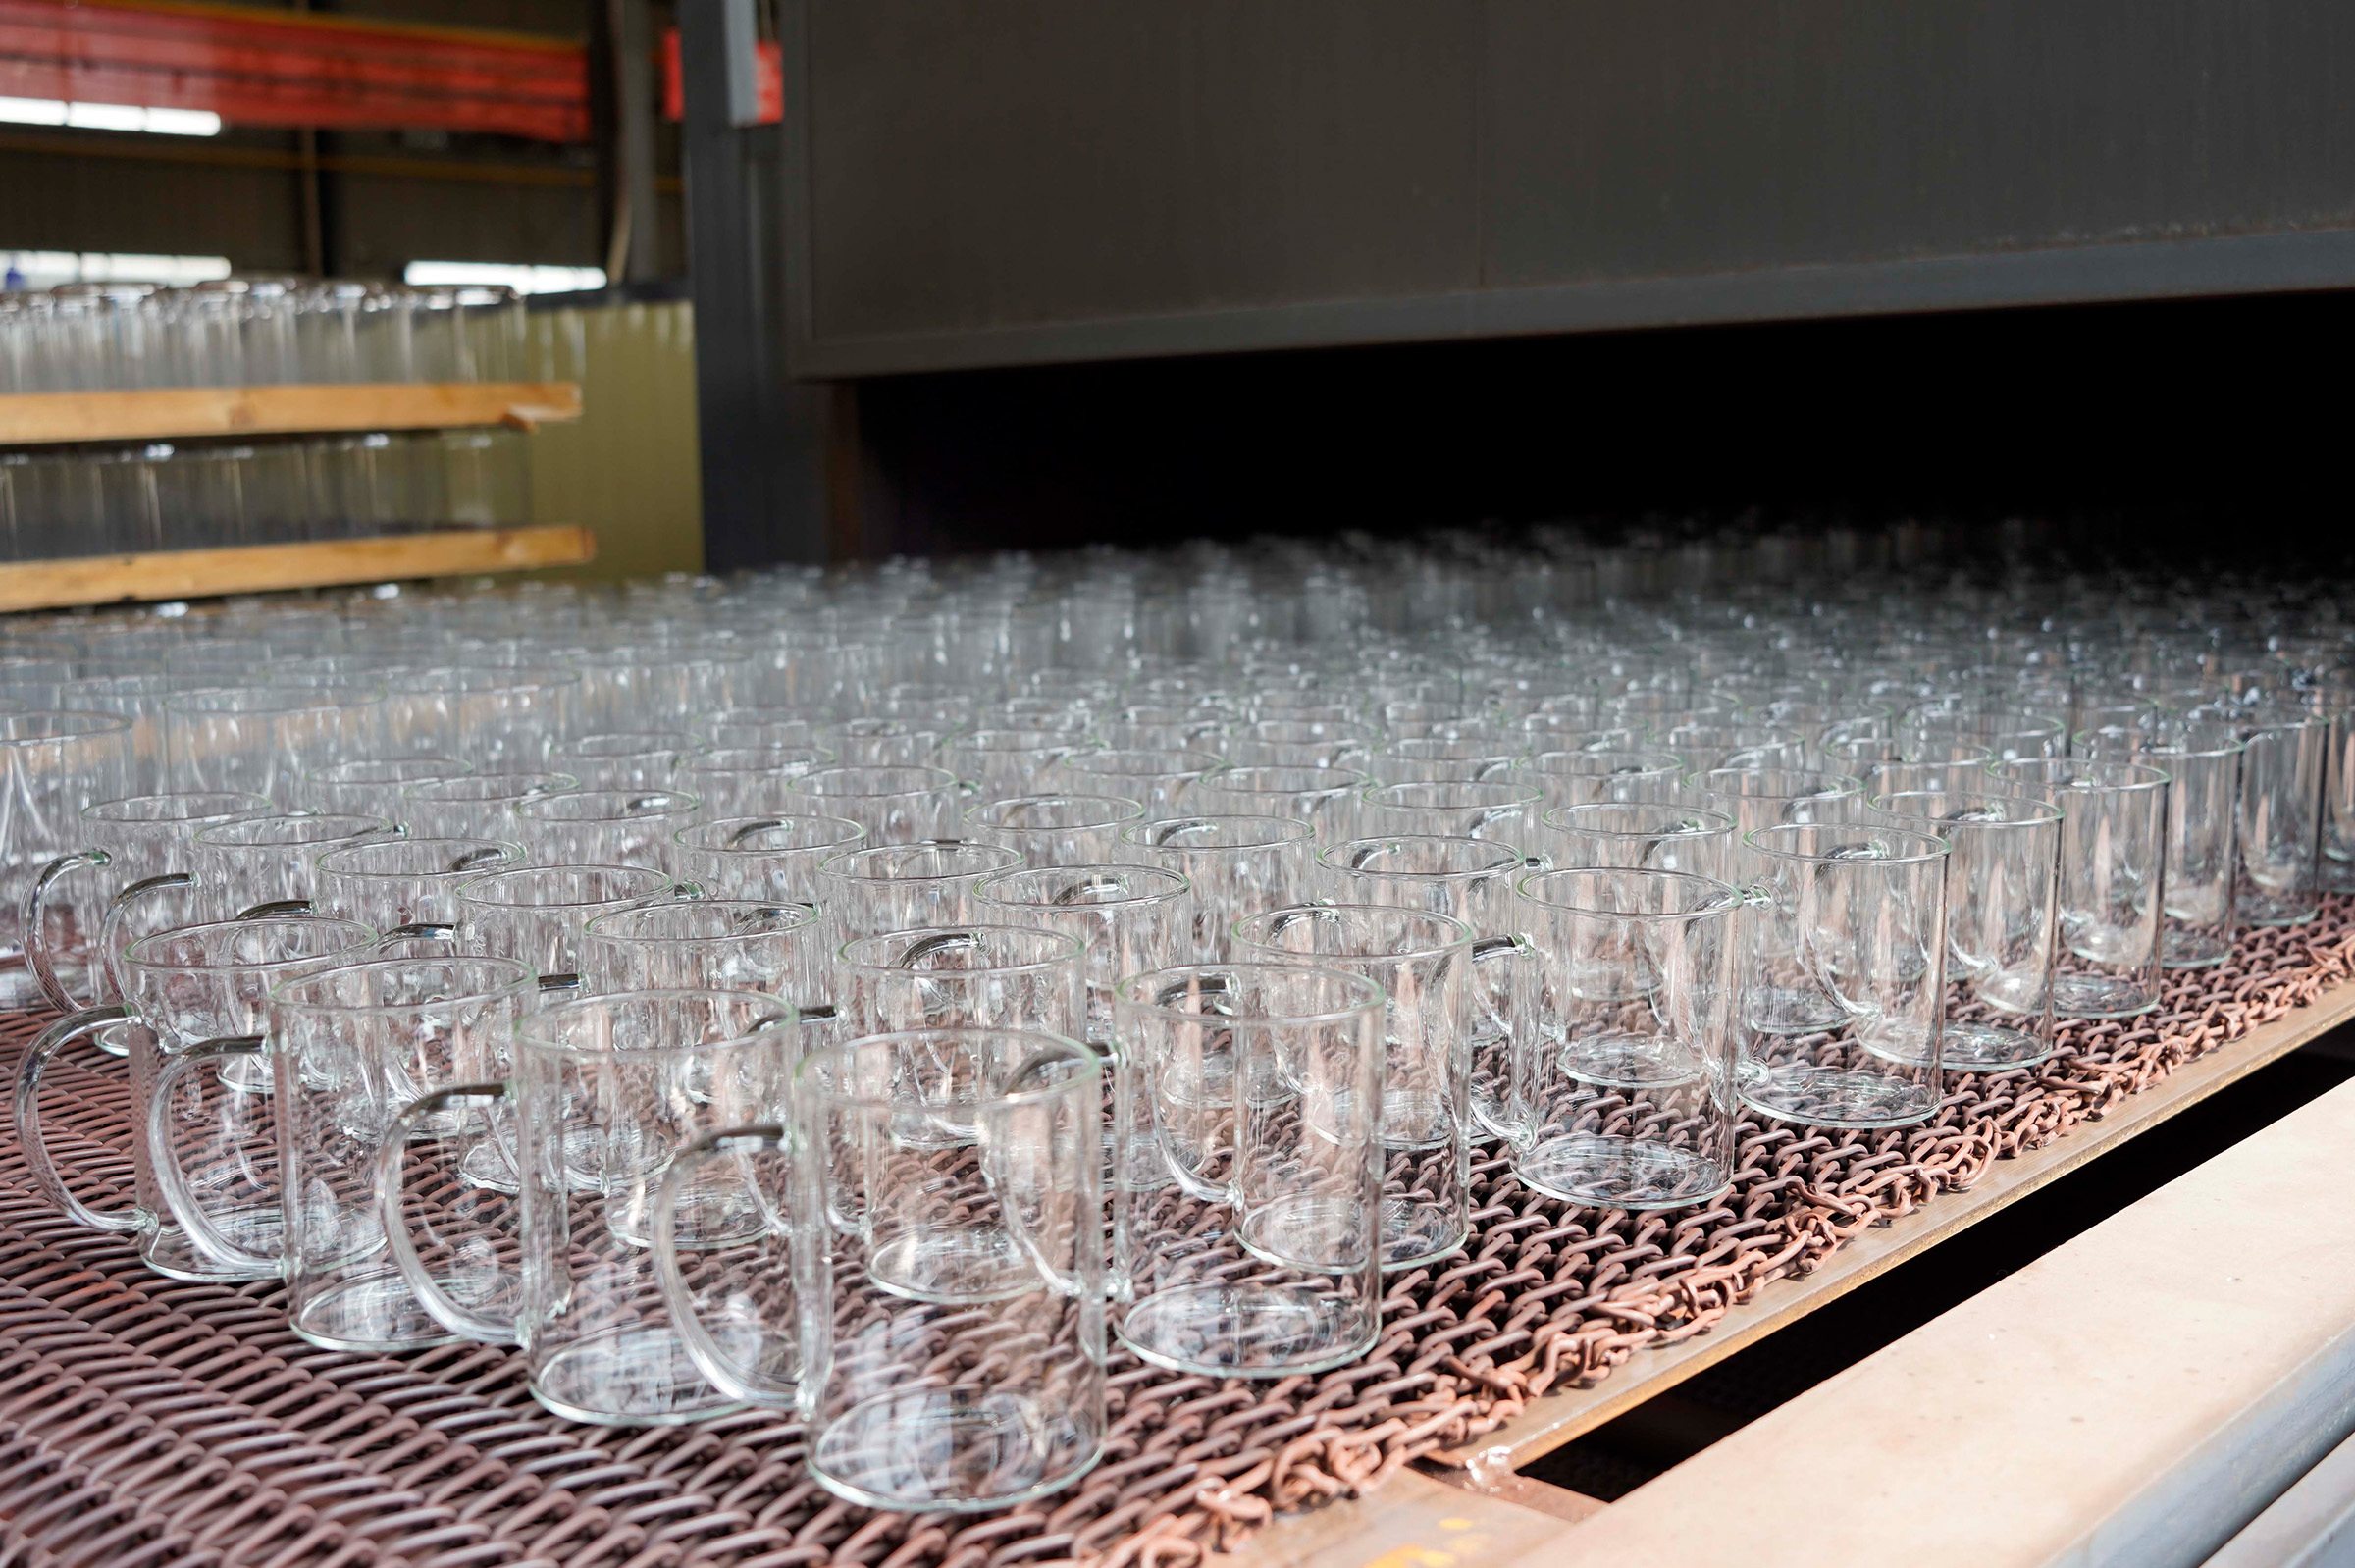
Step#8 Bottom Sealing
After annealing and cooling, the bottom vents of the double-walled cup need to be sealed.
8
Step#8 Bottom Sealing
After annealing and cooling, the bottom vents of the double-walled cup need to be sealed.
9
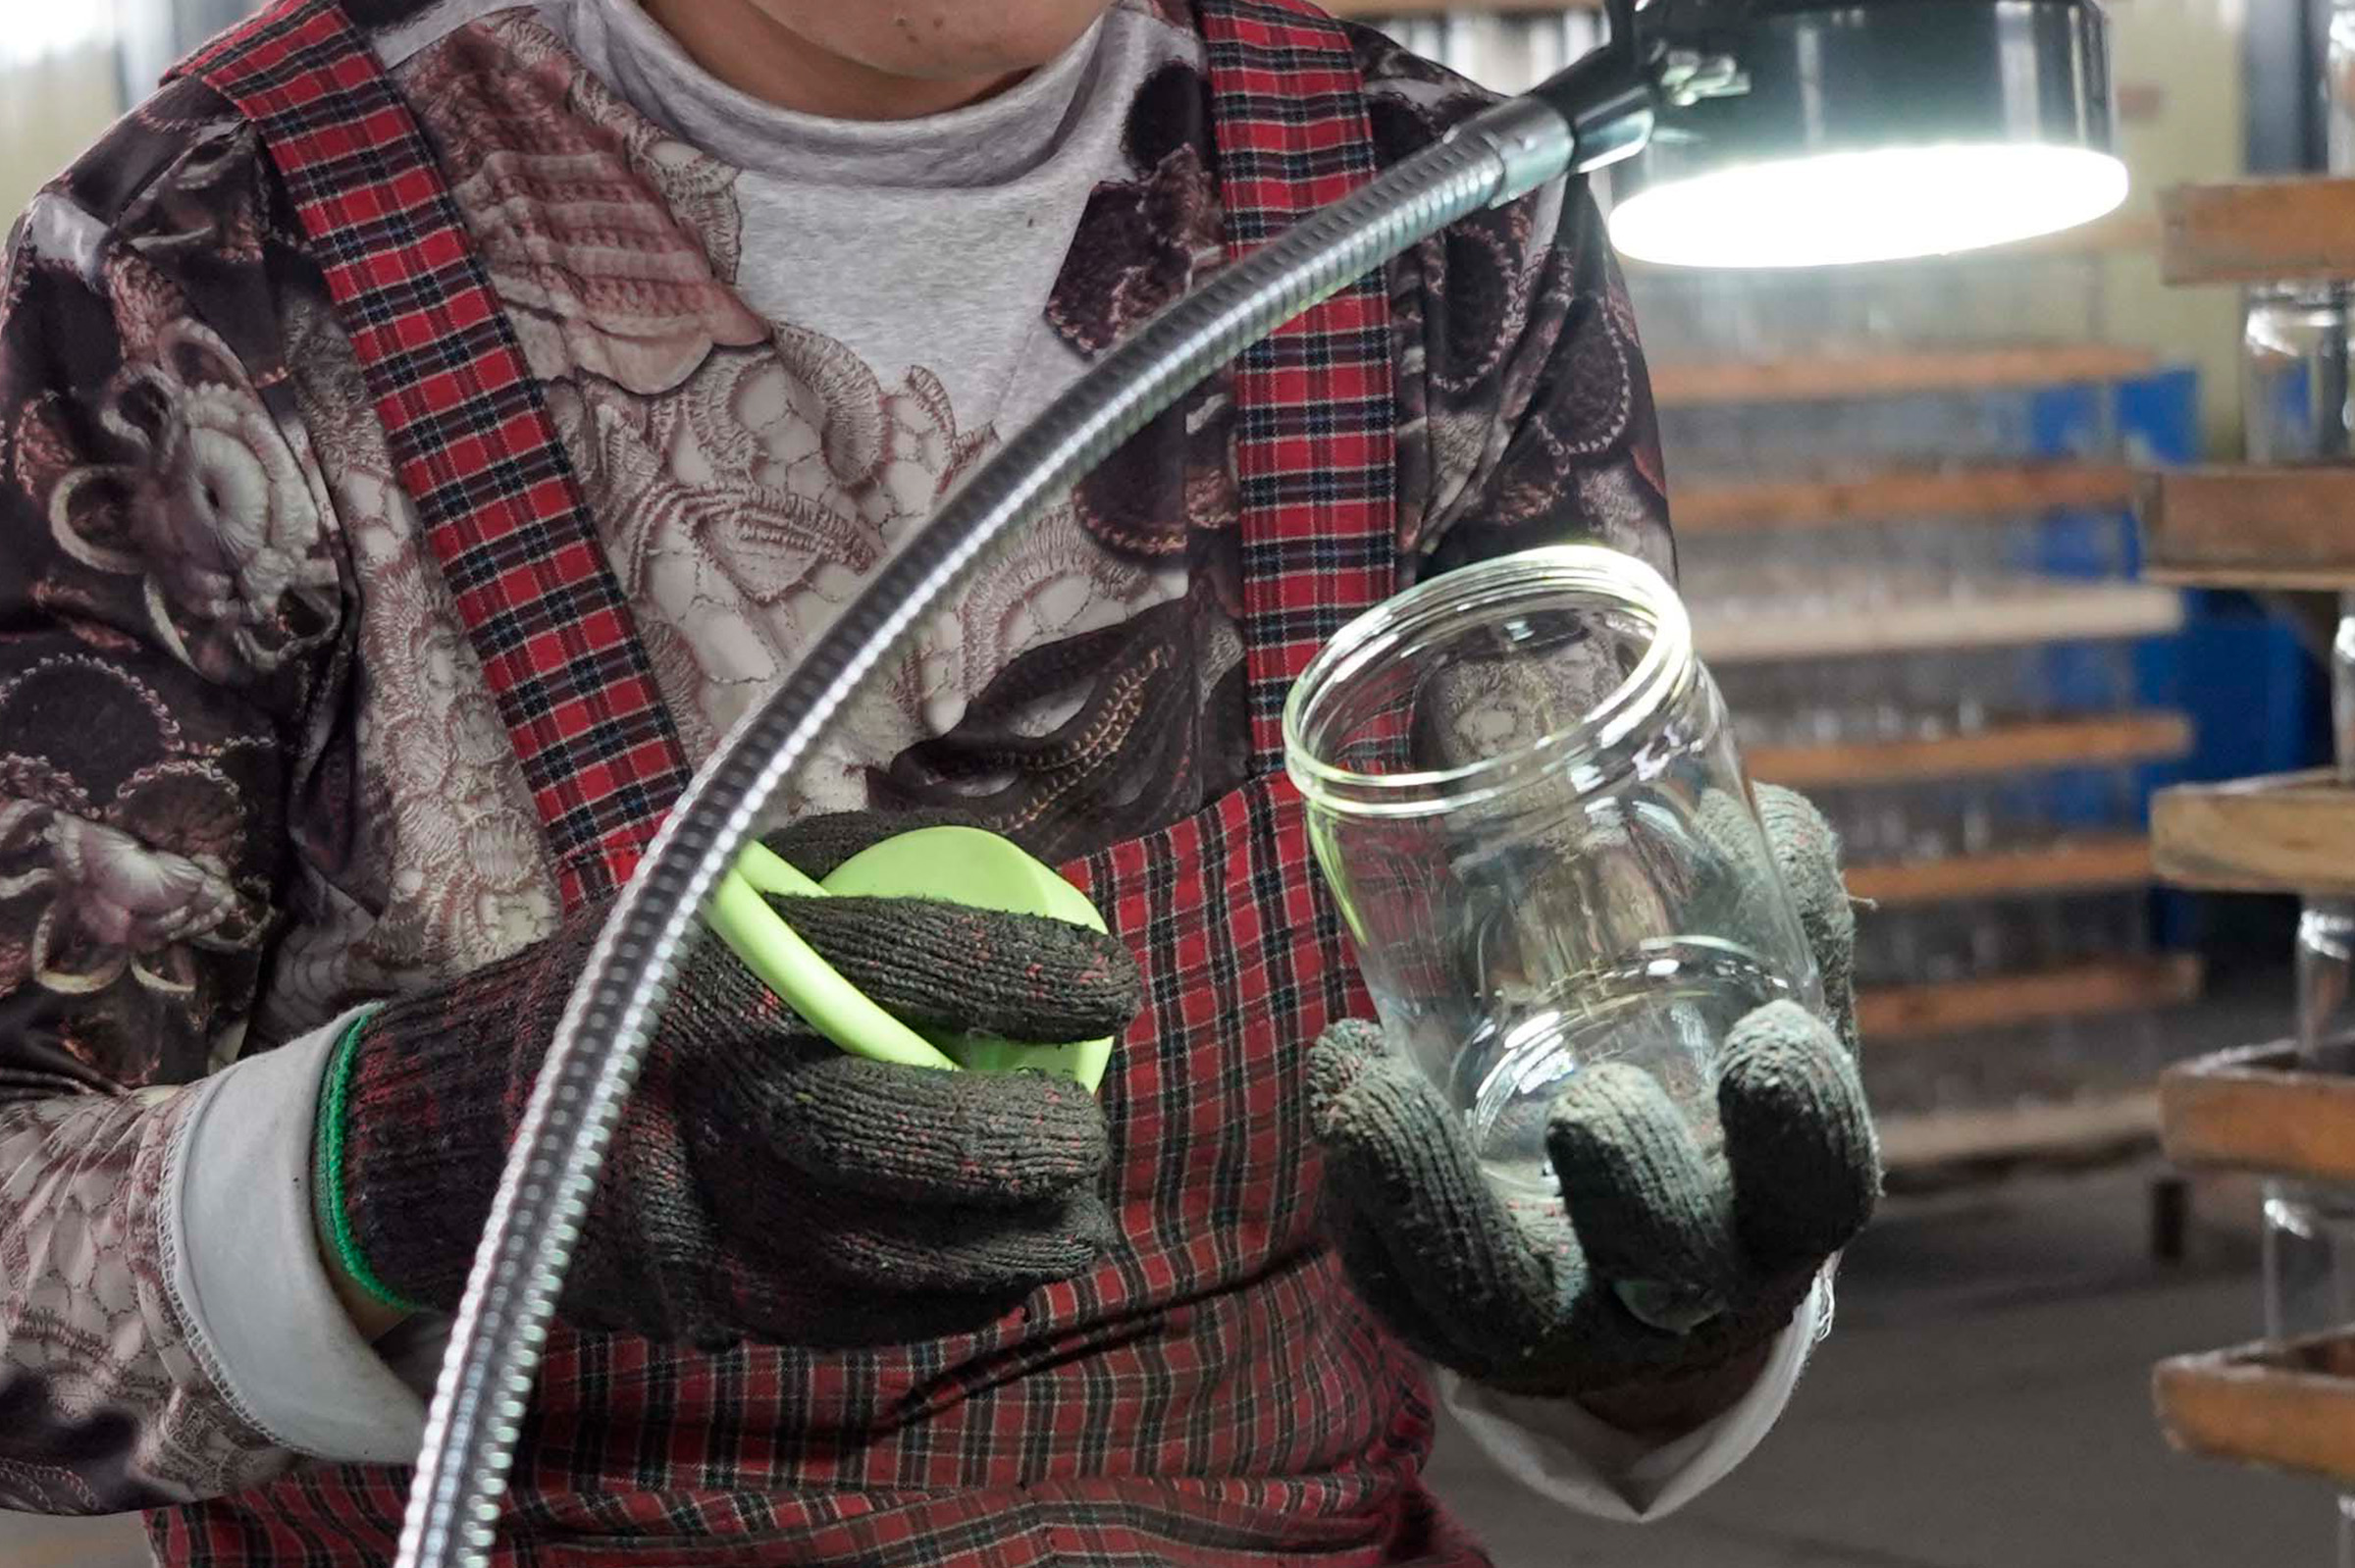
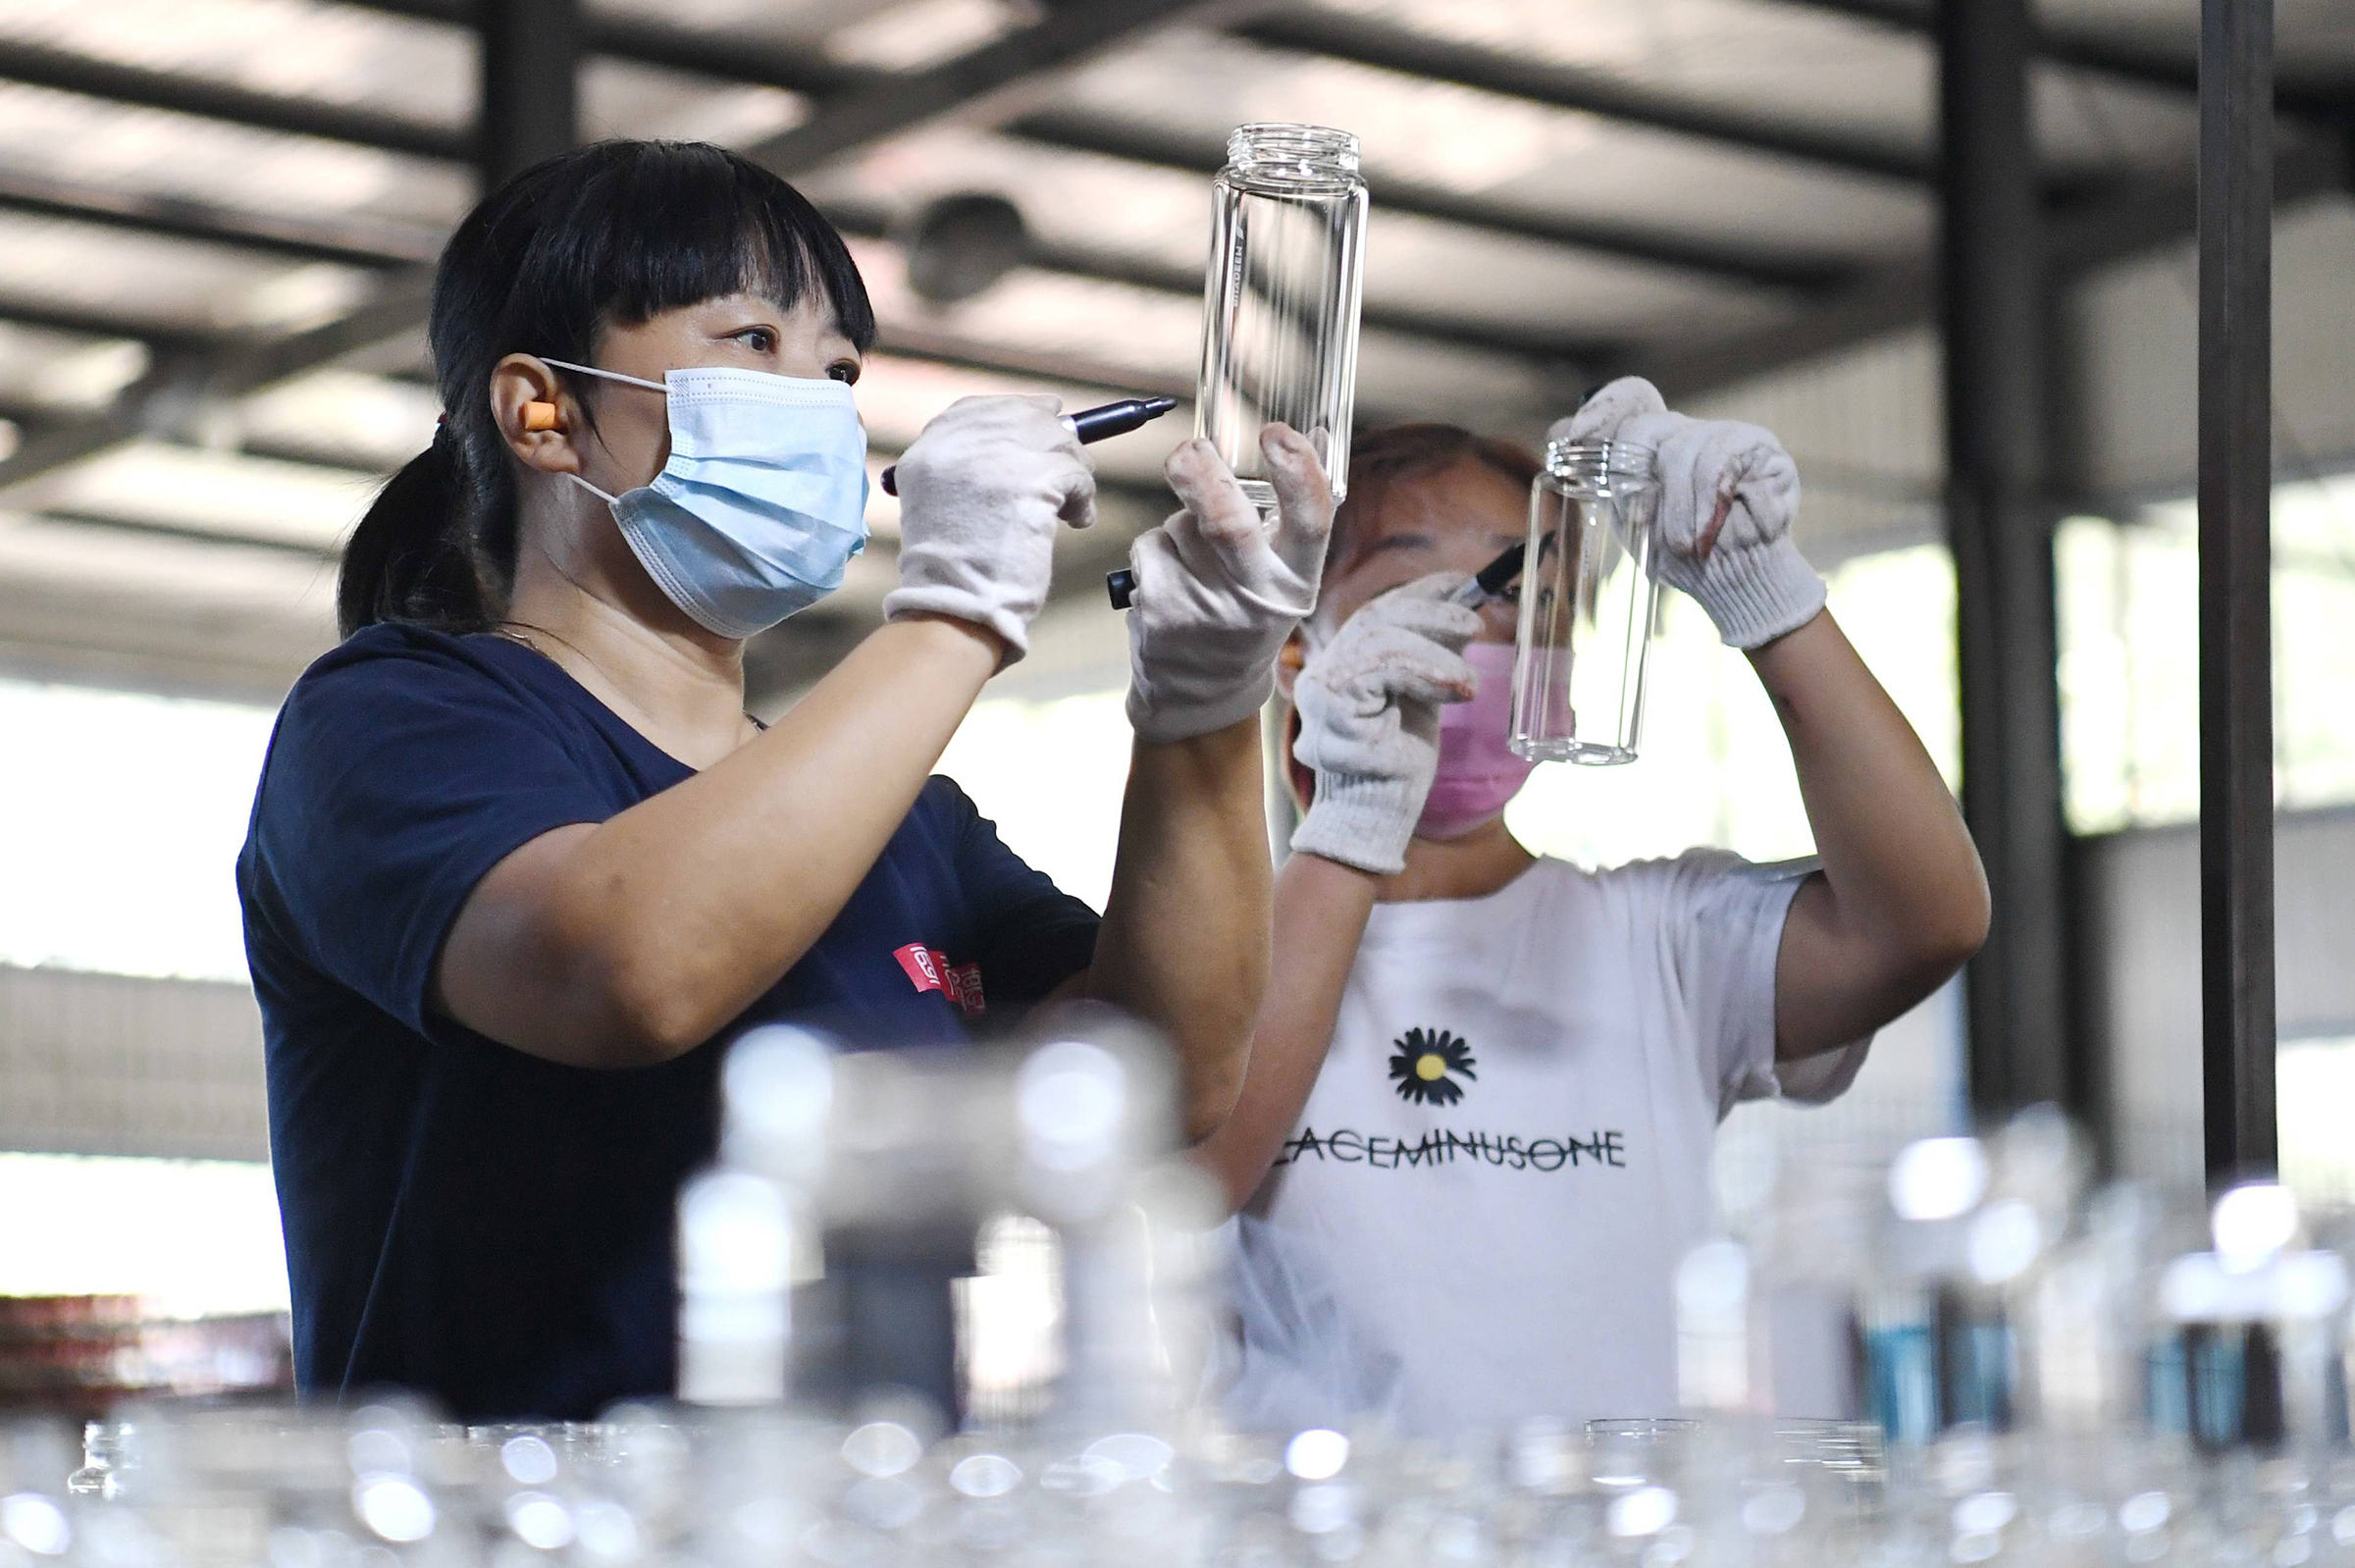
Step#9 Finished product QC
The quality inspection team will conduct quality checks on finished products according to inspection standards.
10
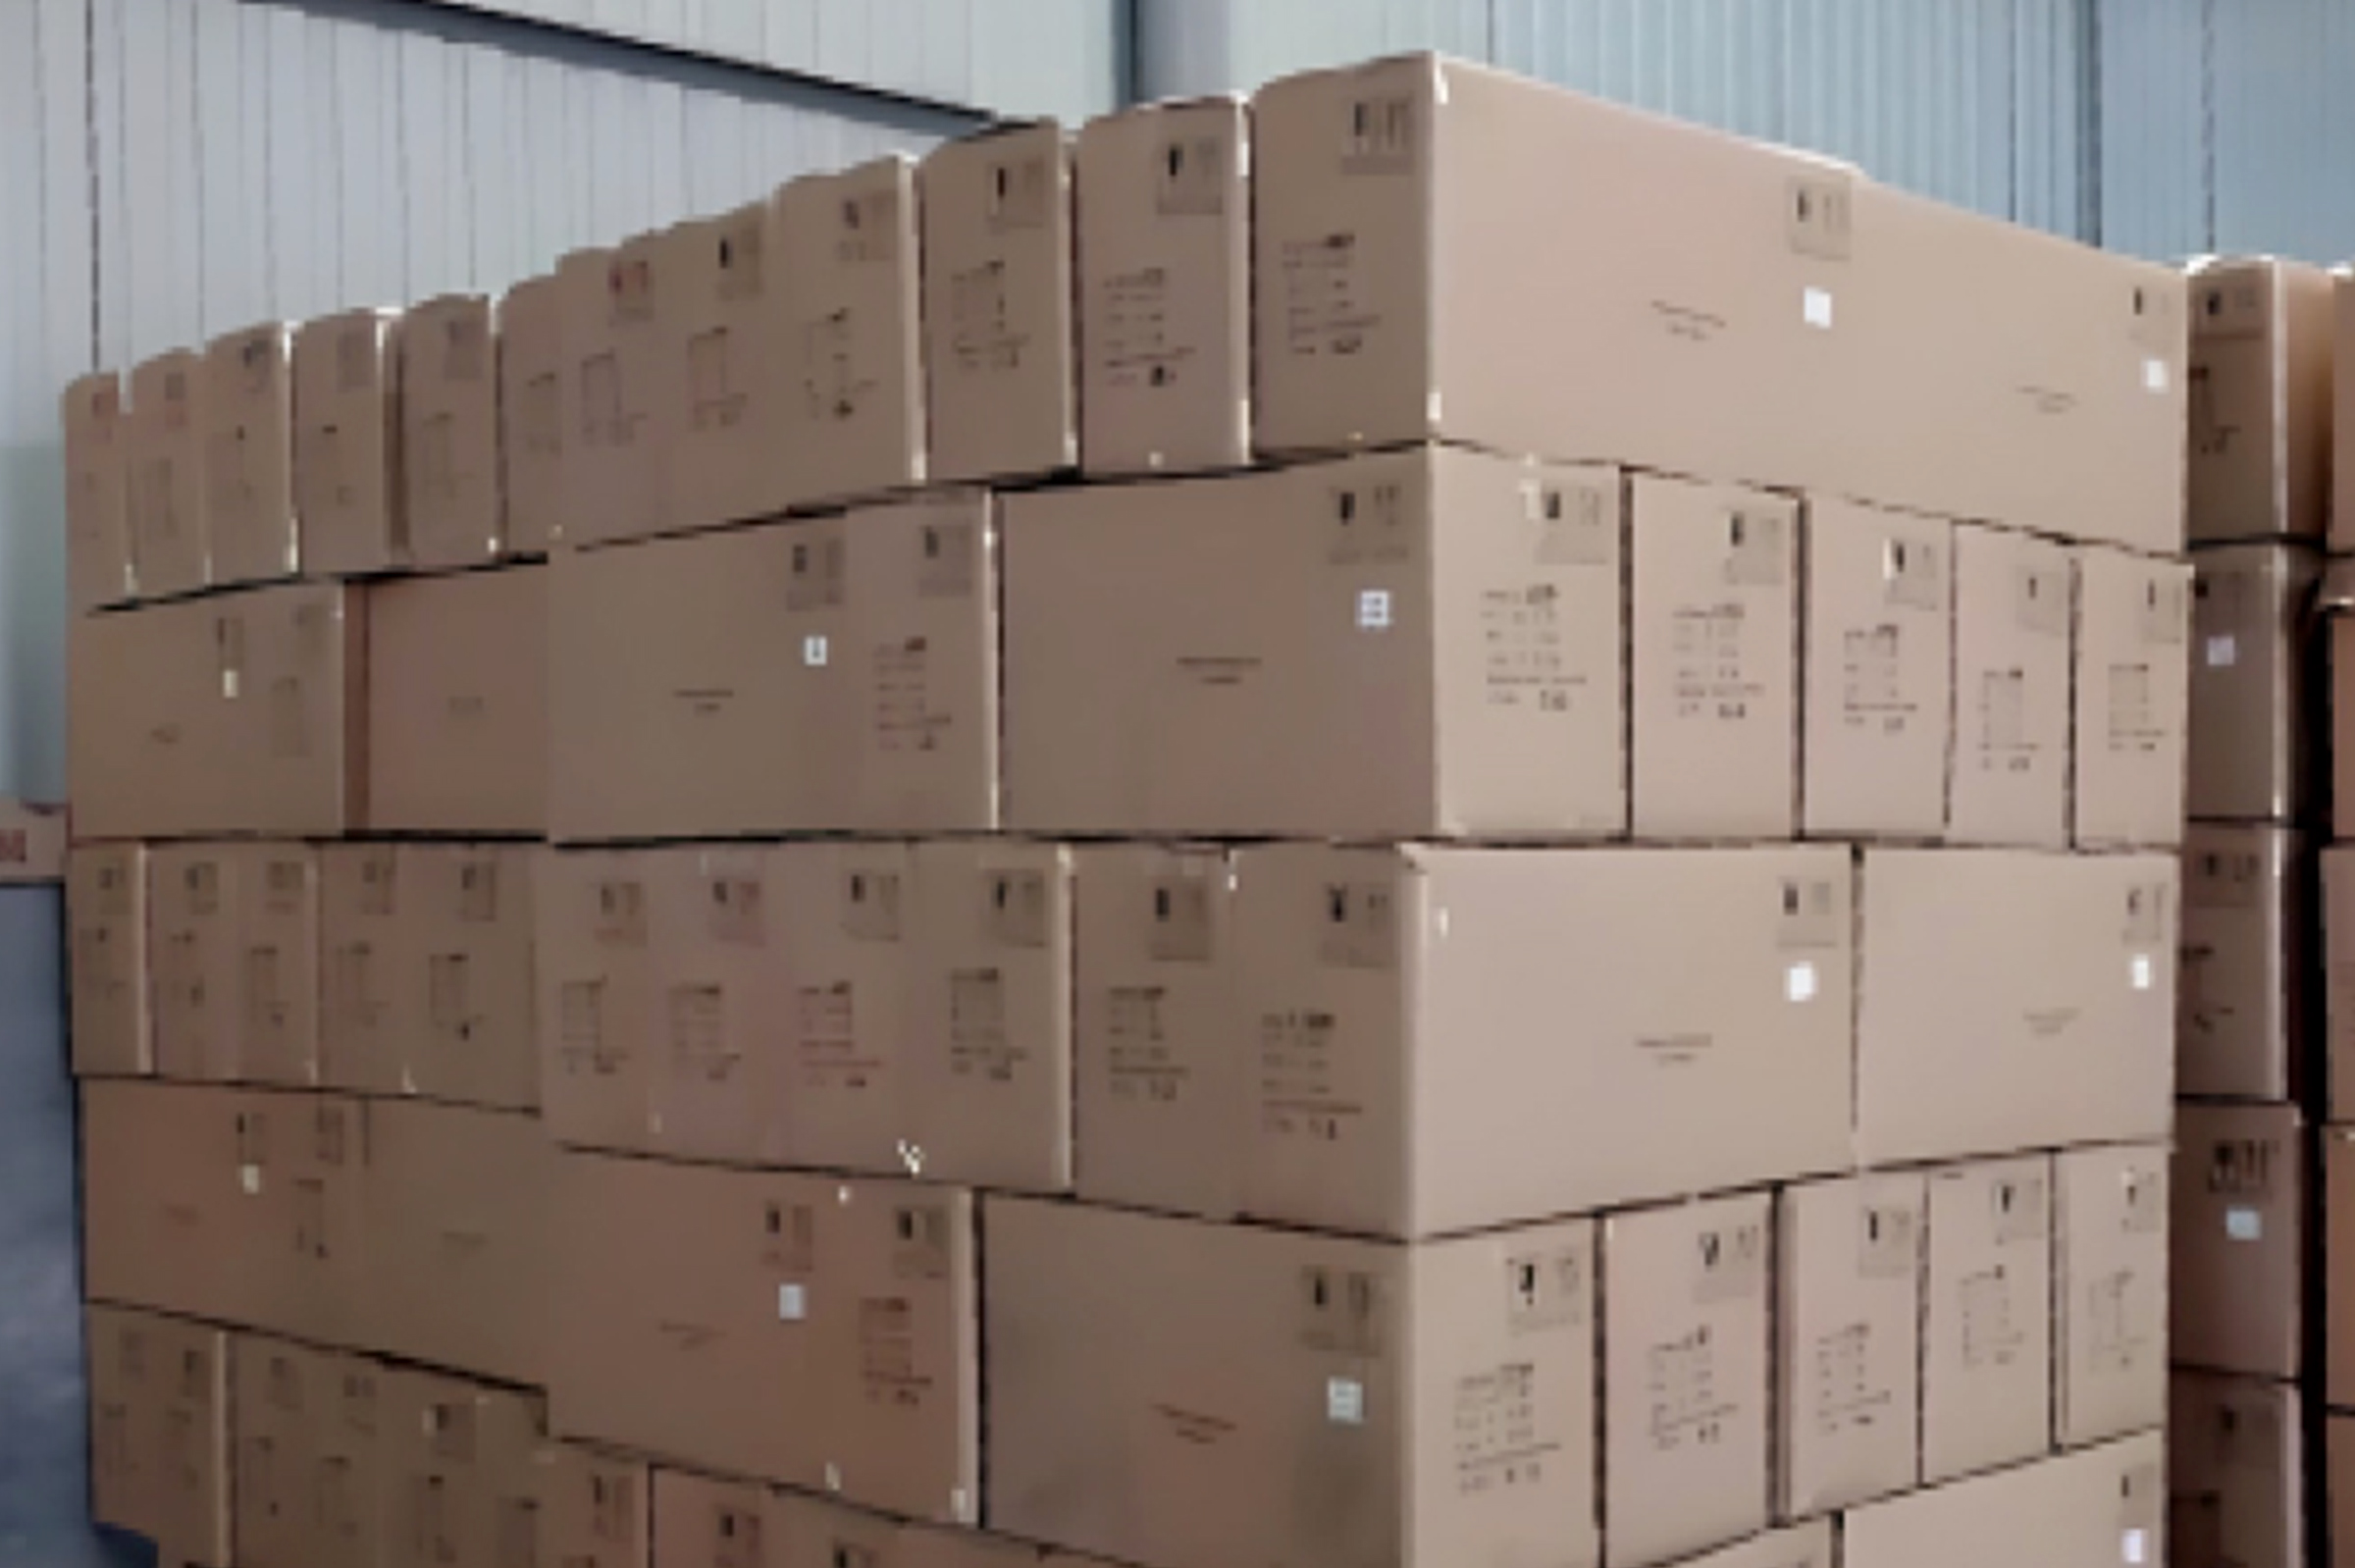
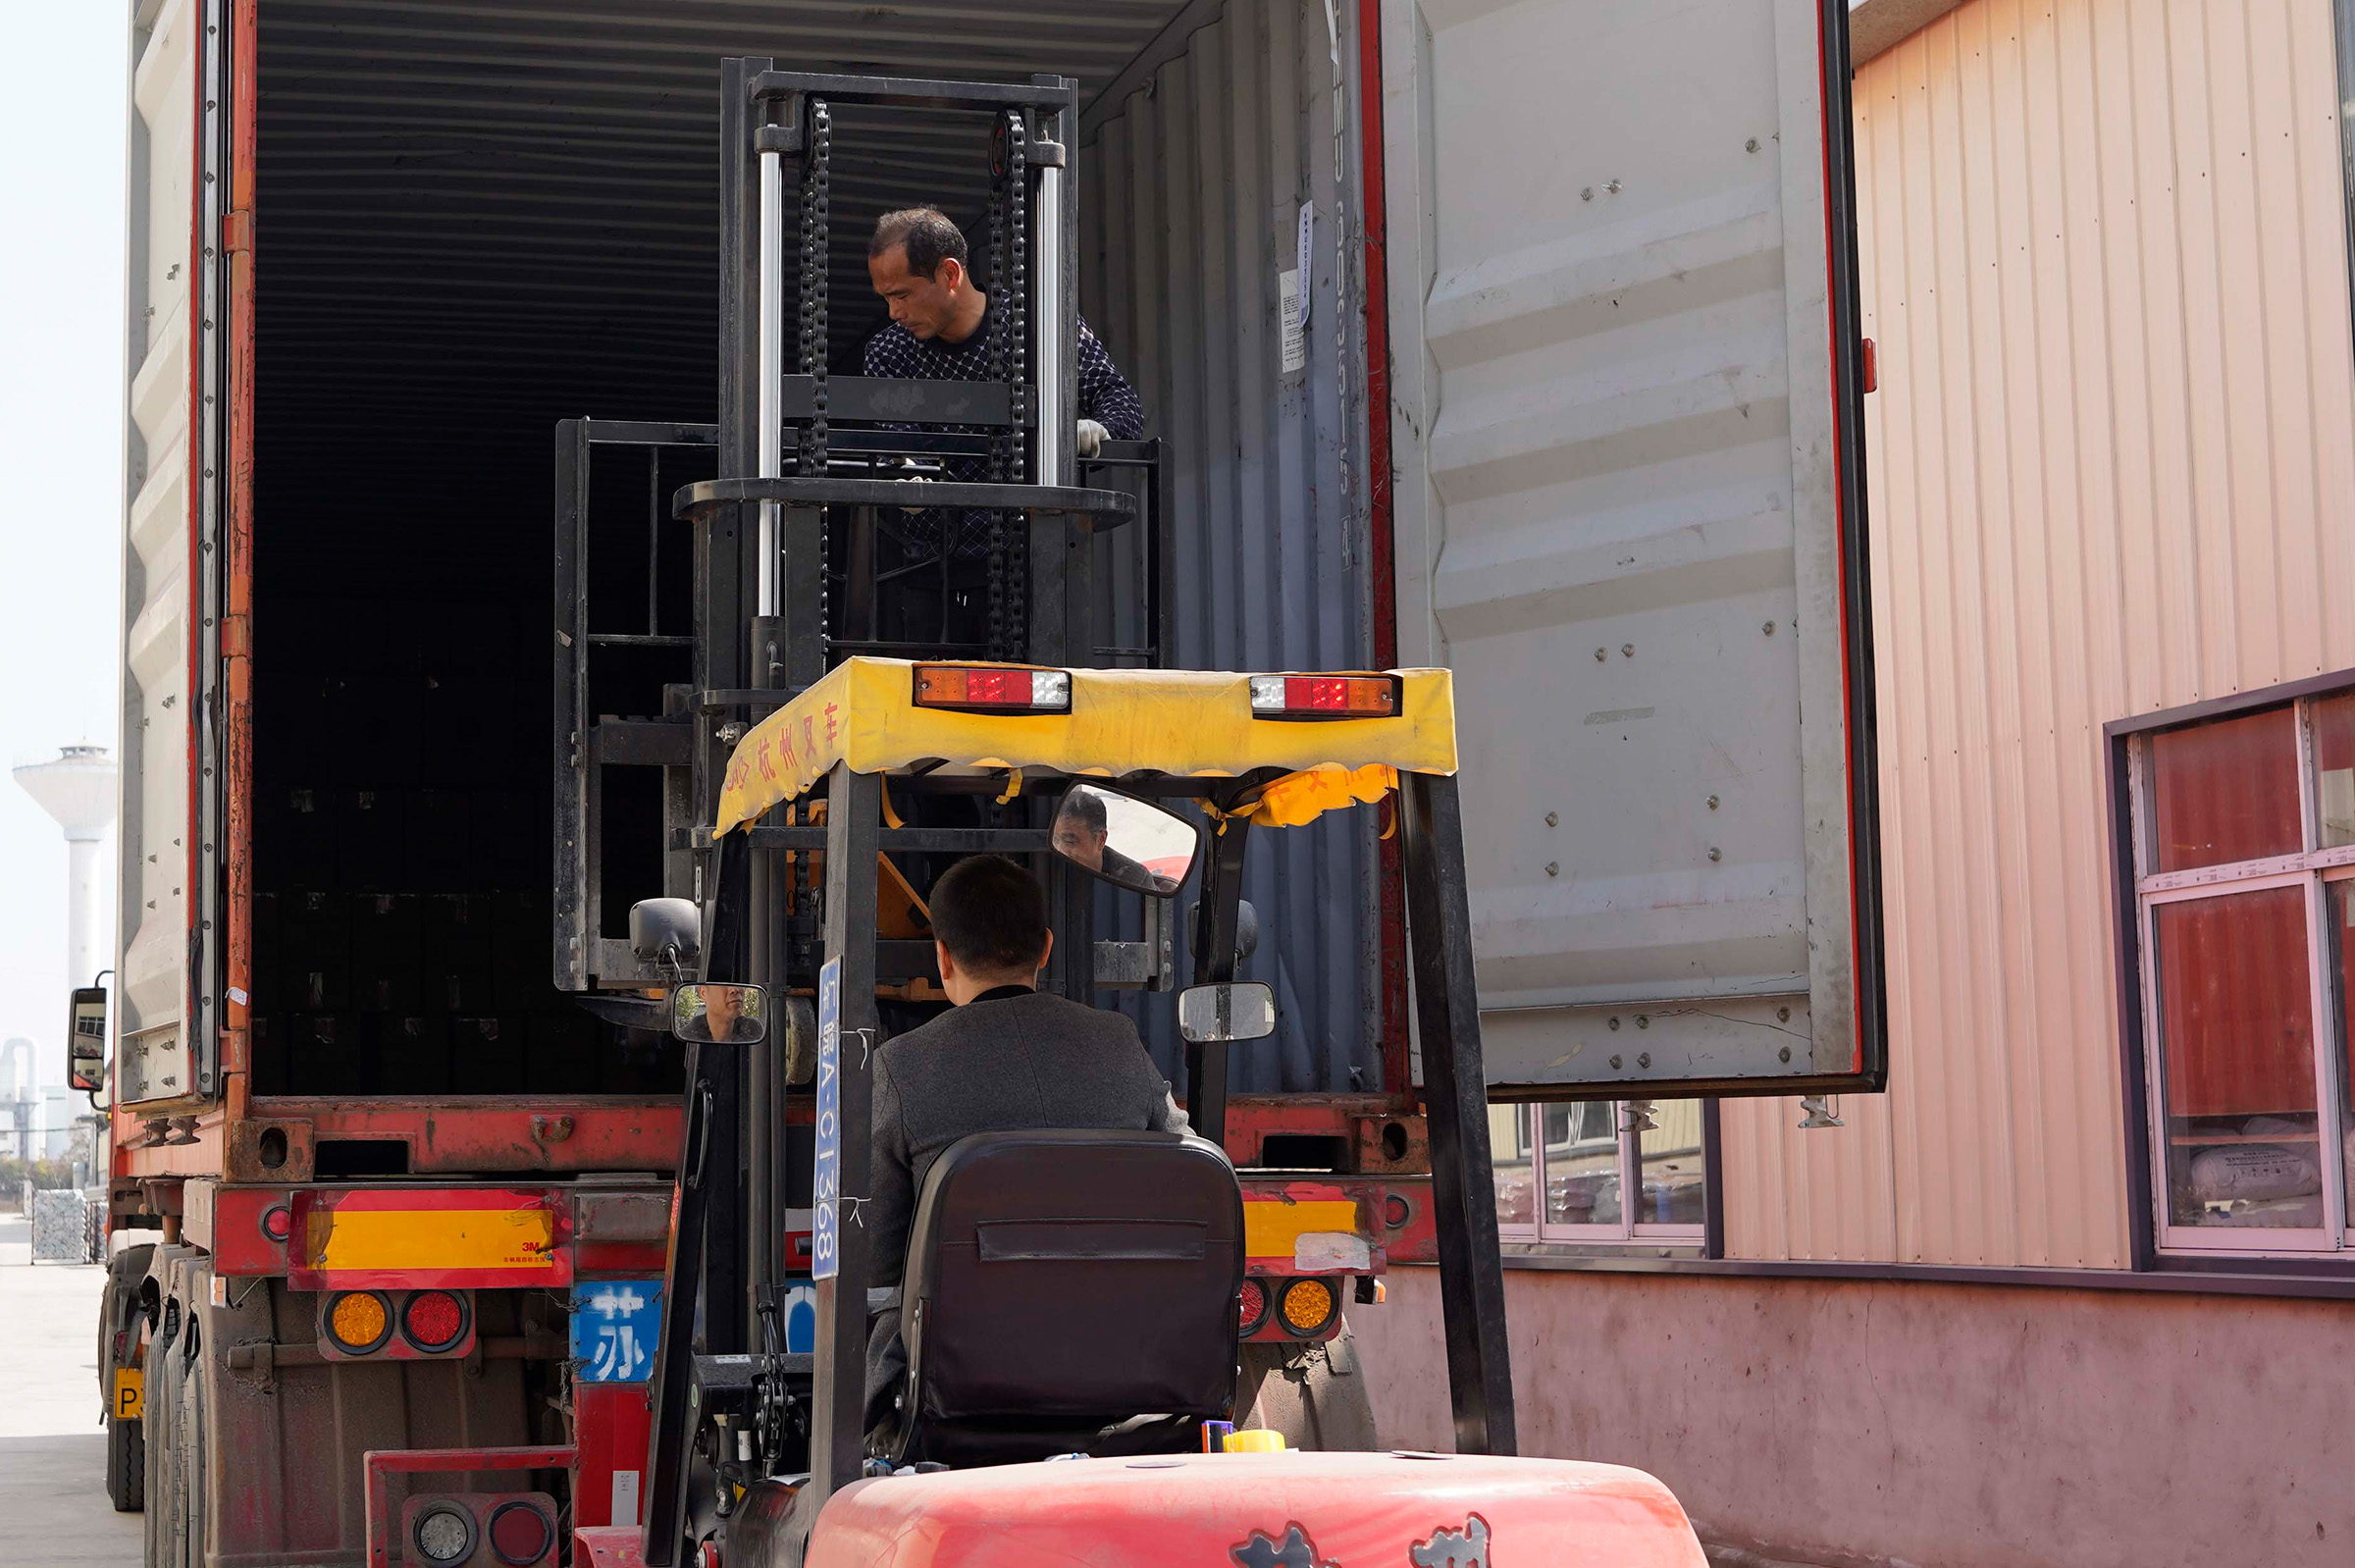
Step#10 Packaging
Skilled packers securely package products according to customer specifications.
11
Step#10 Packaging
Skilled packers securely package products according to customer specifications.
12